As someone who travels as part of their daily life it seems inevitable that once a year or so I suffer through a bout of food poisoning. Tuesday, on a quick trip to town to pick up laundry, it seems I also picked up some greeblies. I won’t bore you with the details but let’s just say that it was a much better time than the 24-hours last year when I succumbed, and the boat was on the hard, toilet inoperable. I am happy (in retrospect) to tick that off my TO DO list for 2019 so early in the year.
Now that things are (almost) back to normal I have been even more mindful about what I am eating, what will refill my newly emptied system. Knowing that I am depleted and wanting to bolster and replenish the natural flora in my gut that, no doubt, took a hit during the battle, I have been eating a lot of fermented foods. I start in the morning with a bowl of granola and yogurt, both of which I make on board.

Making yogurt on board is not only easy, it is very inexpensive.
I like galley methods that don’t require a lot of investment in equipment, ingredients or time, but deliver nutritious and delicious results. Yogurt ticks all the boxes; no fancy gadgets or strange ingredients needed. And, once you get going you can make healthy, natural yogurt full of probiotics for literally pennies a bowl.
Yogurt is simply a combination of milk and a specific live bacterial culture. The culture, sometimes referred to as a starter, feeds on the naturally occurring sugars in the milk and converts it into a semisolid that has a pleasant tangy flavour. The bacterial cultures that react with the milk are temperature sensitive, so the only tricky part about making yogurt is keeping the mixture at a constant warm temperature long enough for them to do their magic.
Equipment
You don’t need much; a heavy bottomed pot, a spoon and a thermometer. You also need a jar or container large enough to hold the entire mixture and a means to keep the yogurt warm while it incubates, too cold and they will not activate. There are fancy yogurt makers on the market, but I use a second-hand set up that is simply a 1 litre jar inside a double-walled, insulated plastic container. A jar and a couple of thick towels or an insulated cooler will also do the job if you’re just starting out.
Ingredients
One litre of milk and some bacterial culture or starter.
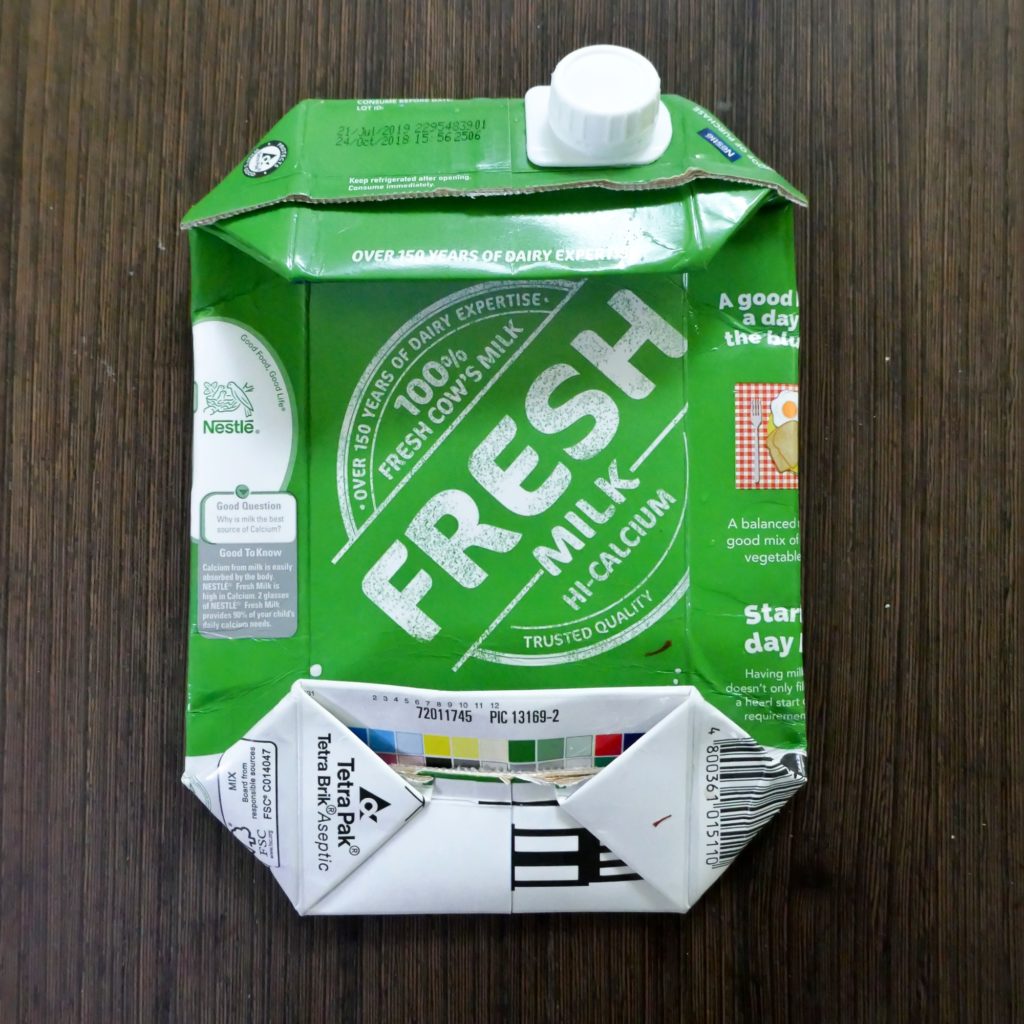
Most people would assume that fresh milk is needed to make yogurt on board, and certainly it is preferred. However fresh milk is not only hard to store as it must be refrigerated, it is impossible to find in most countries outside the western world. Fear not, I have been making lovely yogurt for years using long life, or UHT (Ultra Heat Treated) milk. I have even used powdered milk with equally reliable results. Being able to use shelf-stable milk allows me to have fresh yogurt anywhere, anytime, even while on a three-week blue water passage.
I currently use a commercial, freeze-dried culture to start my yogurt making. Then, to preserve my limited supply of commercial culture I save a few tablespoons of my existing batch to “start” the next batch. Manufacturing cultures for consistent and reliable results can void the ability of those cultures to survive multiple fermentations, so this method may not work, or may not work repeatedly, with all commercial cultures. You can also start off simply by using a small pot of natural, sugar-free, plain yogurt.
Method

Fill your glass jar with boiling water and place in fermenting vessel or warm in a towel. Heating the jar will make sure that the temperature of the milk/culture mix doesn’t drop dramatically when you pour it into the jar later.


Check by tipping the jar, the mixture should look “set” and move like jello. Now it is ready for the fridge, where it will firm up slightly.
If your yogurt totally fails it is not a total failure.
I have had yogurt fail in the past, I am sure everyone has. For a while I worked with a culture that kept resulting in something that was less spoon-able and more snot consistency. Not appetizing. I changed brands of milk, varied the temperature I added the culture at, I even experimented with adding some powdered milk in hopes of thickening the final product. Nothing worked. After contacting the company, I discovered that this particular culture was very temperature sensitive during the incubation stage, essentially it was designed for a plug-in yogurt maker. Giving my yogurt added insulation by wrapping it in a blanket helped. So did a recipe for Yogurt Herb Bread…it was on heavy rotation for a while.
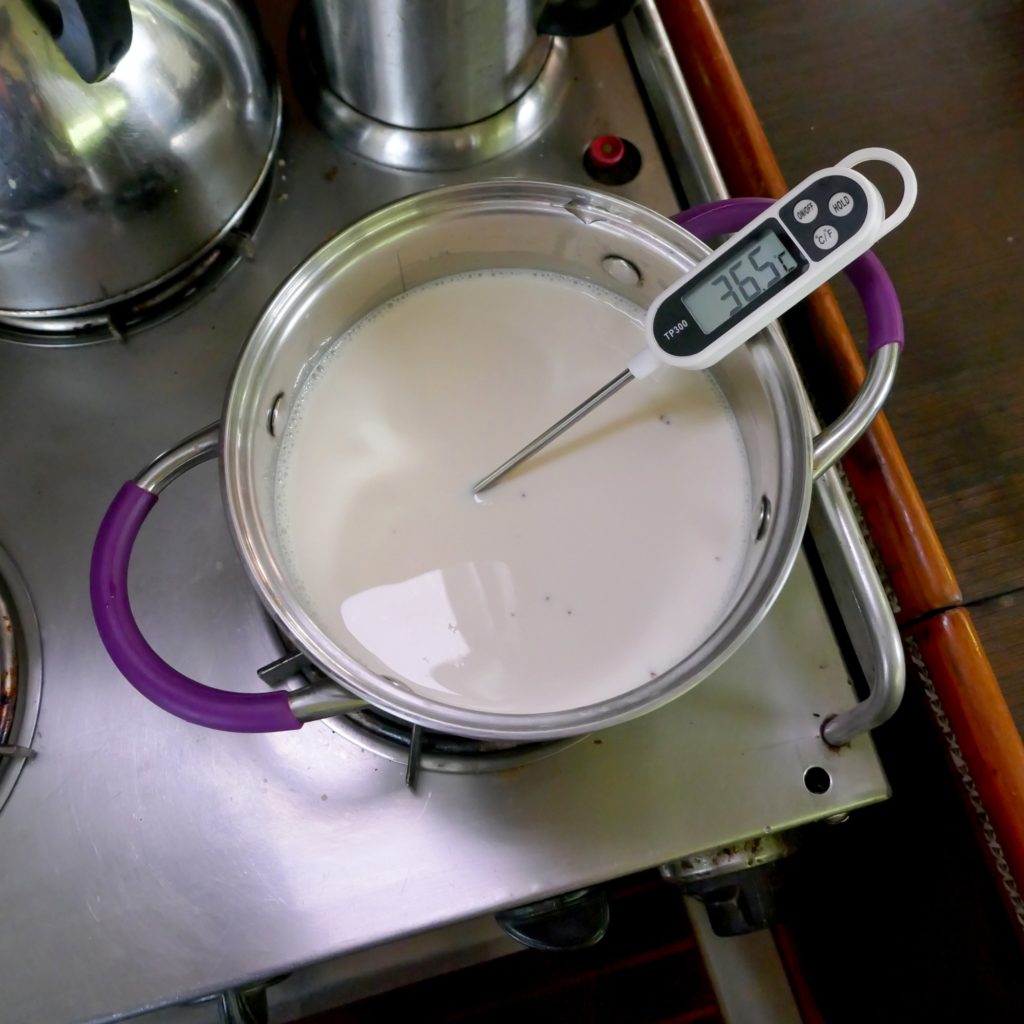
If your yogurt does not set at all you can reheat the mix and start again, adding more culture/starter. Make sure the milk is between 42-45°C, be patient, no doubt it will work the second time around.
If you want a thicker yogurt you can add or sub cream for 1/3 of the milk, the higher fat content will result in a much thicker yogurt. You can also strain the yogurt through a piece of fine cheesecloth, removing some of the whey. Don’t throw the whey away! Full of probiotics you can use it in smoothies, baking or other ferments.
Yogurt keeps for 7-10 days in my fridge. By that time my jar is almost empty, and I have just enough yogurt left to start another batch.
Love,
H…&S

Good post! If you don’t have a thermometer, a ratio of 500ml (boiling) hot to 350 ml room temp will give you the right temp.
A good trick! Thanks Laura
Wish I had this when I was learning – I have just mastered it – so easy and so yummy!!
Glad you figured it out in the end!