Whenever Steve goes away for work I tackle a few ‘home improvement’ projects. This is partially a coping strategy – keep the hands and head busy so I don’t worry too much or let myself feel too lonely. It’s also just practical because all of the jobs I do are smelly or dusty or require our living space to be disrupted for days or weeks on end.
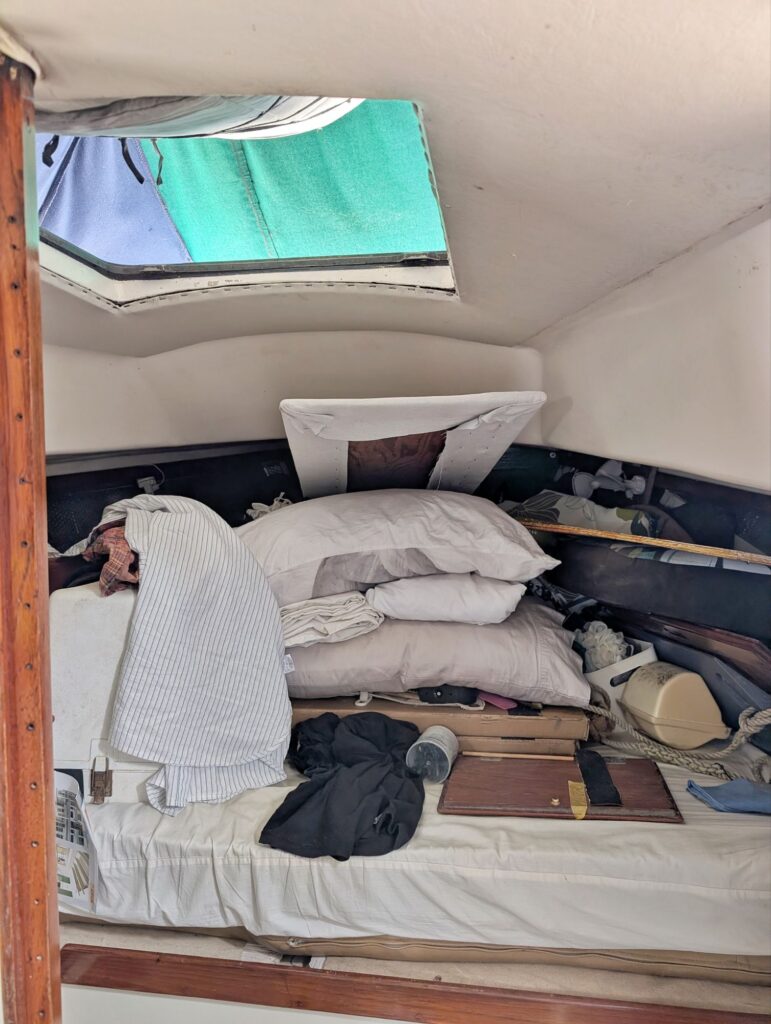
Kate’s interior isn’t huge, so when it’s just me I don’t have to worry about anyone else touching wet paint or leaving fingerprints in still tacky varnish. I can disassemble the space I am working on, use the vee berth as a storage depot, and sleep on the sofa for a week or two. I am not in anyone’s way but my own, and Steve gets to return to boat that’s had a nice refresh.
Previous years I have removed the galley counter and stairs to varnish them, pulled down and replaced the headliner, sanded and painted the entire interior, painted the bathroom (different time, different colour), heat stripped all the interior woodwork and varnished it, made new exterior cushions, and recovered the interior cushions.
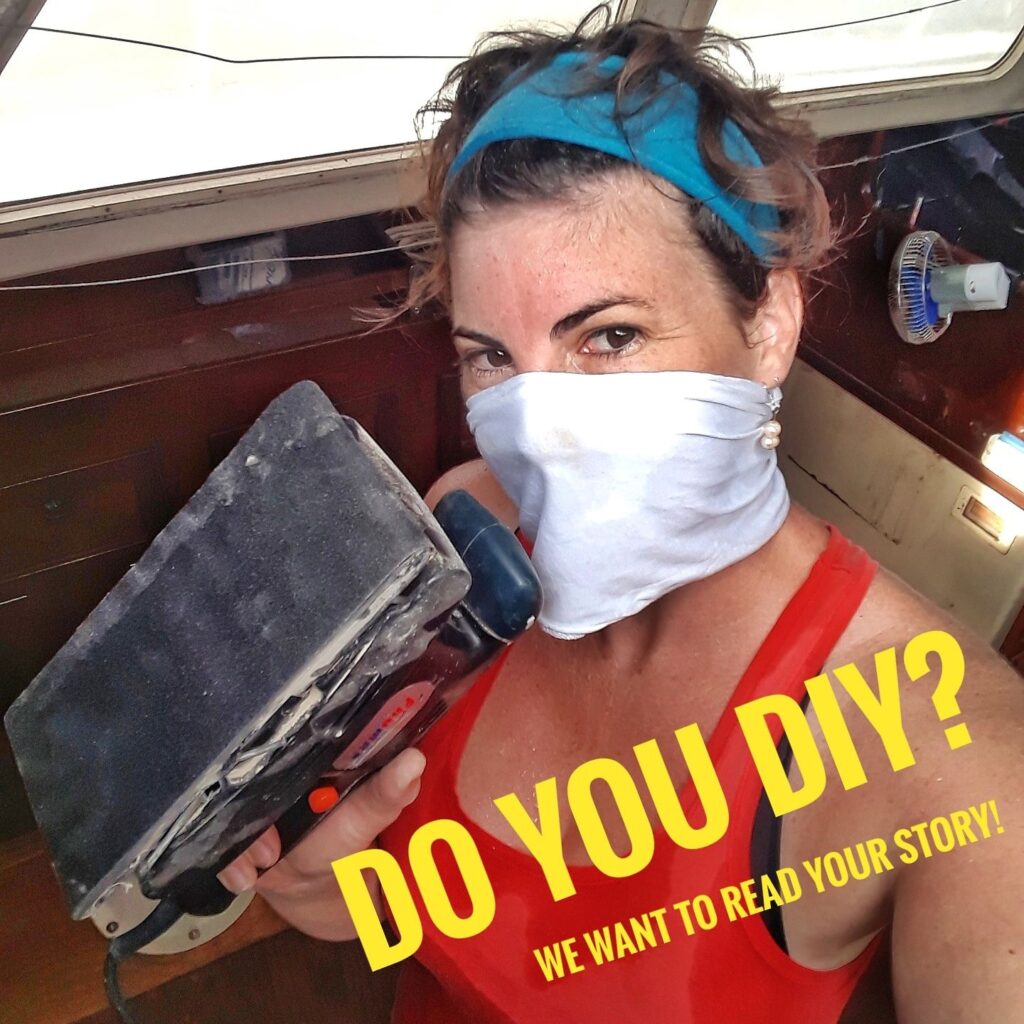
Basically hand me a palm sander, a paint brush, a roll of blue tape, a staple gun, and a sewing machine and I’ll find a way to pretty things up a bit!
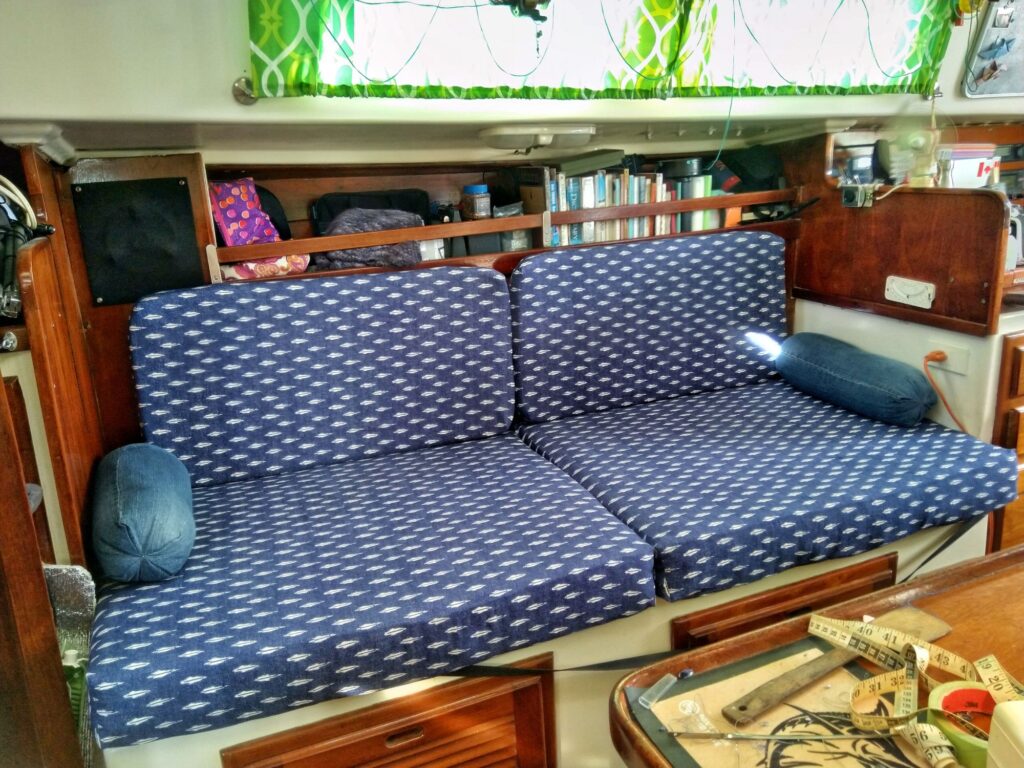
After the galley got such an amazing facelift last year the rest of the boat has been looking a little tired. I started with making some new slip covers for the main cabin cushions. When we first bought the boat I very quickly replaced the beige vinyl upholstery with a green sunbrella. Practical and much more comfortable to sit on but since sweat and salt water are a constant in our lives there always seems to be a towel or sarong being thrown down to protect the cushions because salt=moisture=mold.
During the depths COVID I moved into my blue period, a colour scheme that Steve never really liked.
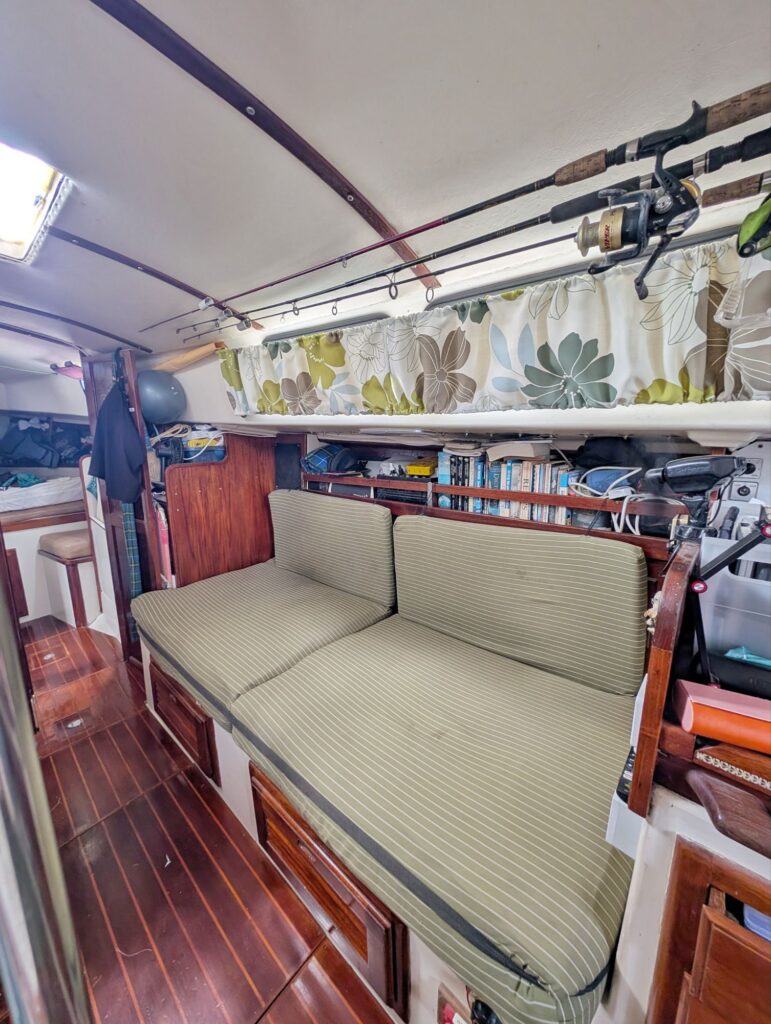
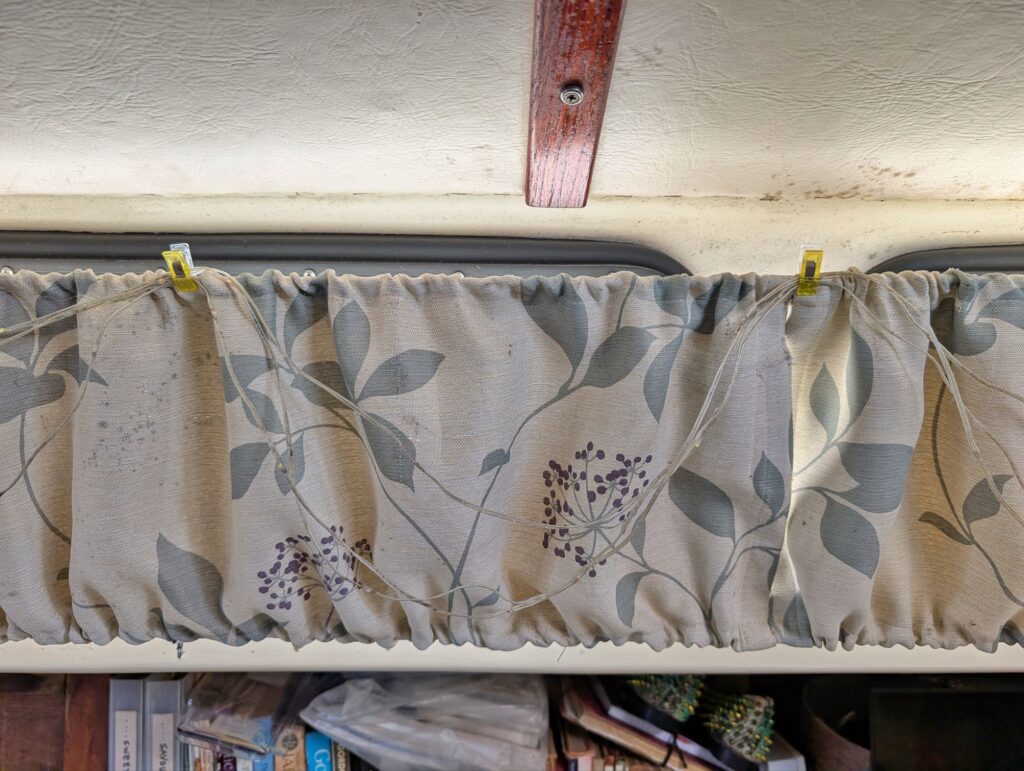
A few months ago, I found some lovely dusky green fabric with a cream pinstripe and reclad the sofa. It echoed the green fleck in the galley counters so well that I recovered the seating around the table as well. Except, that is, for the back cushions. You see, we rarely ever sit behind the table since the overhead is low enough to hit your head on it and it’s a struggle to squeeze in behind/under the fixed in place table. The ‘back cushions’ are actually a piece of ply with foam on top that is upholstered as there is a void used as storage behind it. I decided to remove the foam altogether and wrap the piece of ply in fabric that is close to the wall colour.
Not only does the space look a little bigger but I was able to slice the foam piece in half and add an extra inch of foam to the sofa cushions that we sit on everyday. Better yet, I upcycled a secondhand curtain that I bought for $3 to wrap the ply.
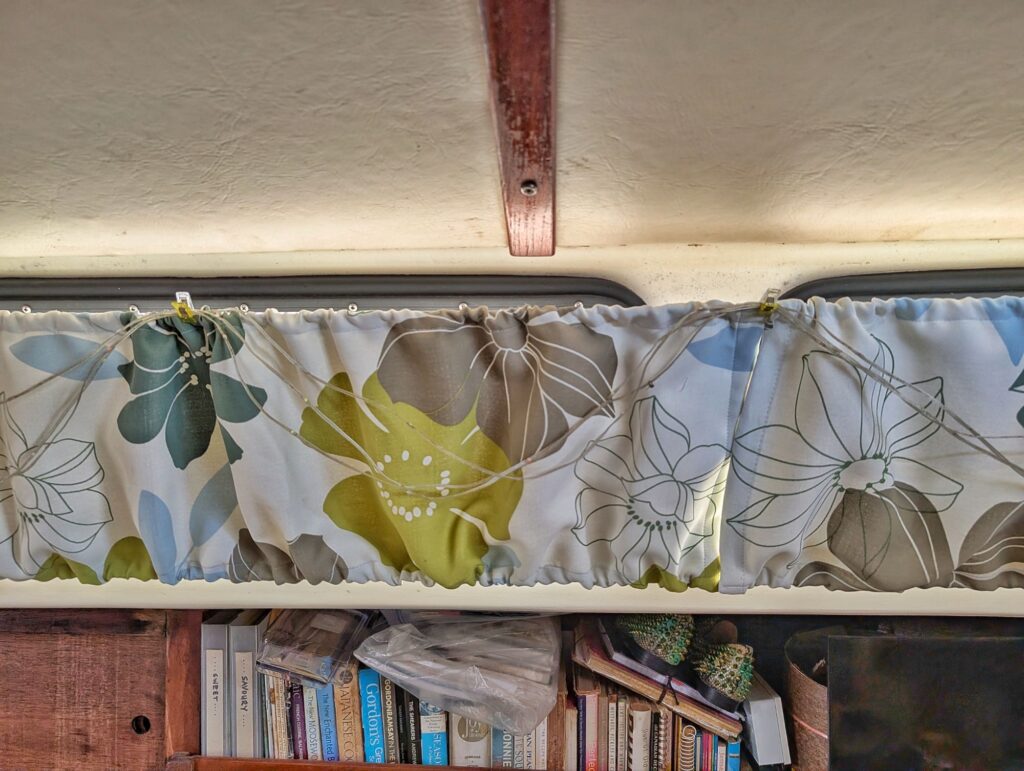
I found another secondhand curtain panel that was cream with all the right shades of greens and a subtle light blue in the bold floral pattern. I knew it would look AMAZING as curtains in main cabin, again echoing all the colours in the galley counter. Took me a few weeks until I got my sewing machine out again and boy was I right! The new curtains really tied the room together.
Also on my To Do list was to repaint the bathroom….and then by extension the hallway area at the vee berth/closet/drawers.
Waaaaay back in Fiji we had the cupboards in the bathroom remade to be more practical and usable. The cupboard was professionally made, sprayed, and installed by the company who painted the hull. The finish is still immaculate and the colour we picked, mojito green, still brings a smile to my face.
I had painted the bathroom walls a soft blue before the cupboard was installed and later painted the overhead a dark navy blue. All inspired by the Fijian fabrics that I had found to make the curtain door for the bathroom.
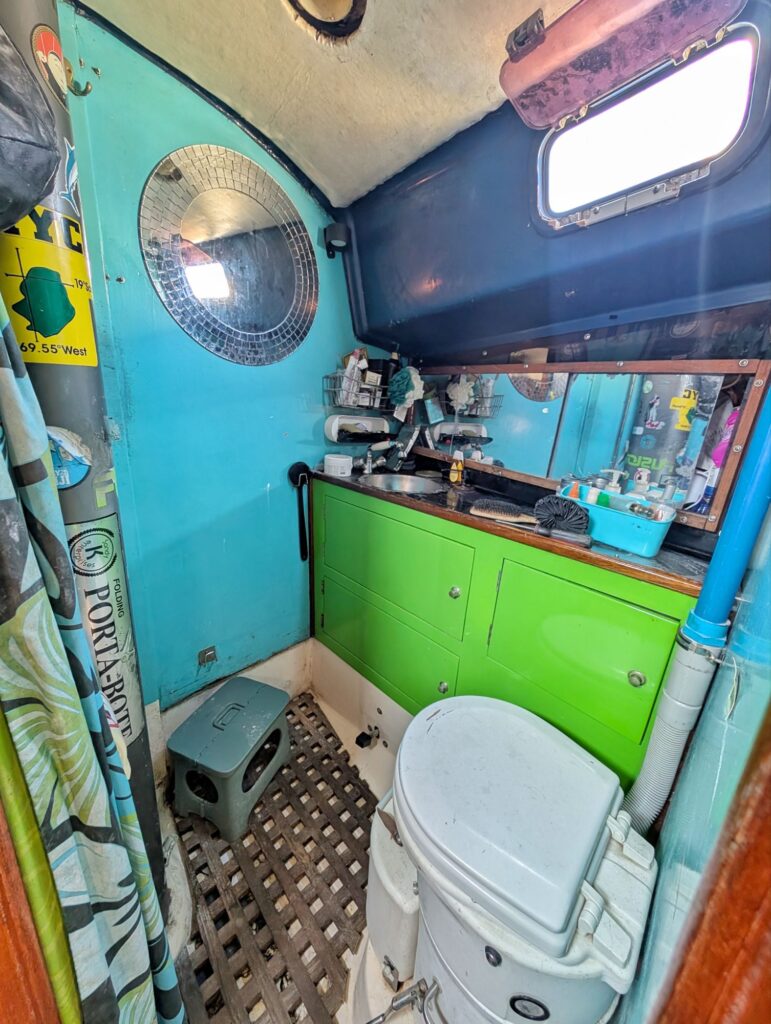
It was a tropical happy place to have a shower. So a couple years later, when Steve was away, I decided to continue those three colours onto the hall/vee berth walls. It was bright and cheery and fun. After 10 years not only did the paint need some touch ups but I was ready for a change…and so was that curtain that hung as the bathroom door.
I decided to paint everything back to off white.
Of course, I wasn’t going to touch the lime green cupboard, I still enjoy the touch of whimsy it brings to the tiny space. But all the walls I had previously painted were scuff sanded and given three coats of paint. Suddenly the tiny space felt bigger, more airy, light.
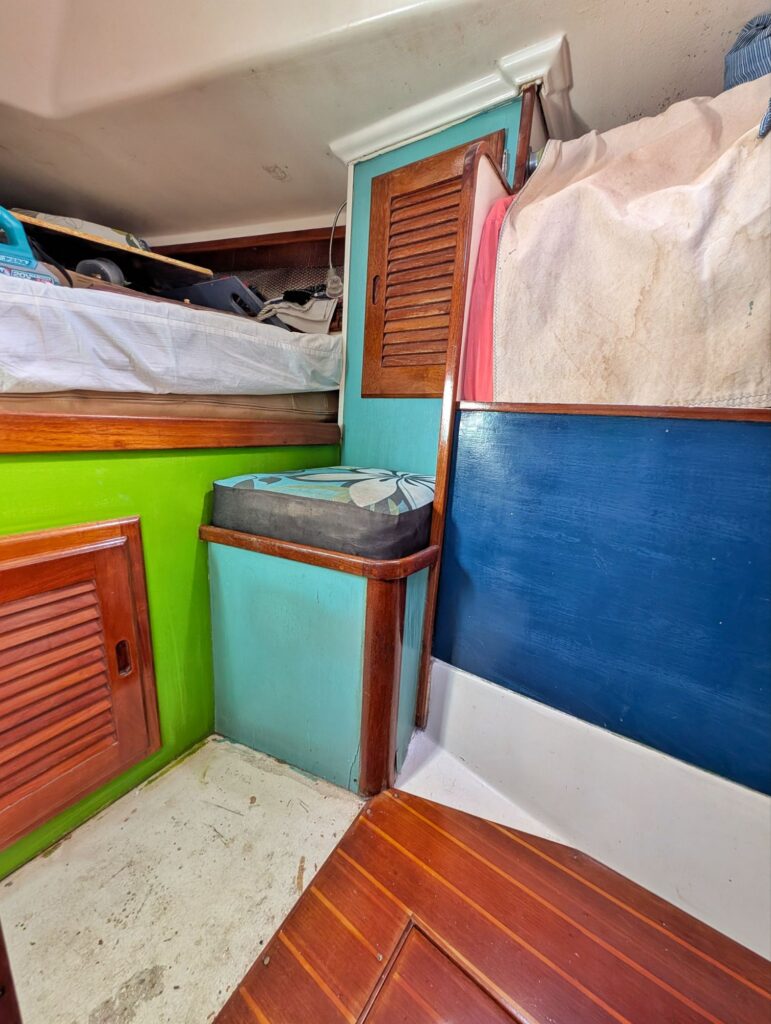
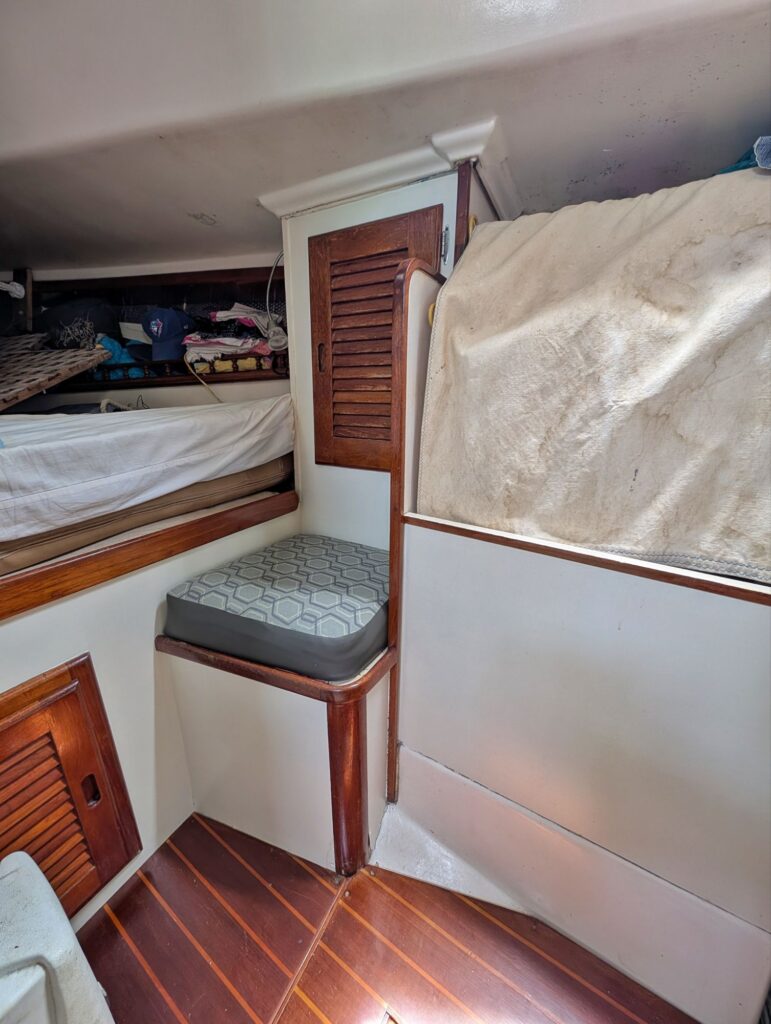
The green was still bold and fun but everything else was now just a little more understated, and more cohesive to the rest of the boat. And there was no going at half measures either, I painted the metal storage basket that hangs on the wall and the ugly blue PVC pipe that is the exhaust for our composting toilet.
Of course I fell into that old trap of paint something and whatever it is next to looks sad and dirty.
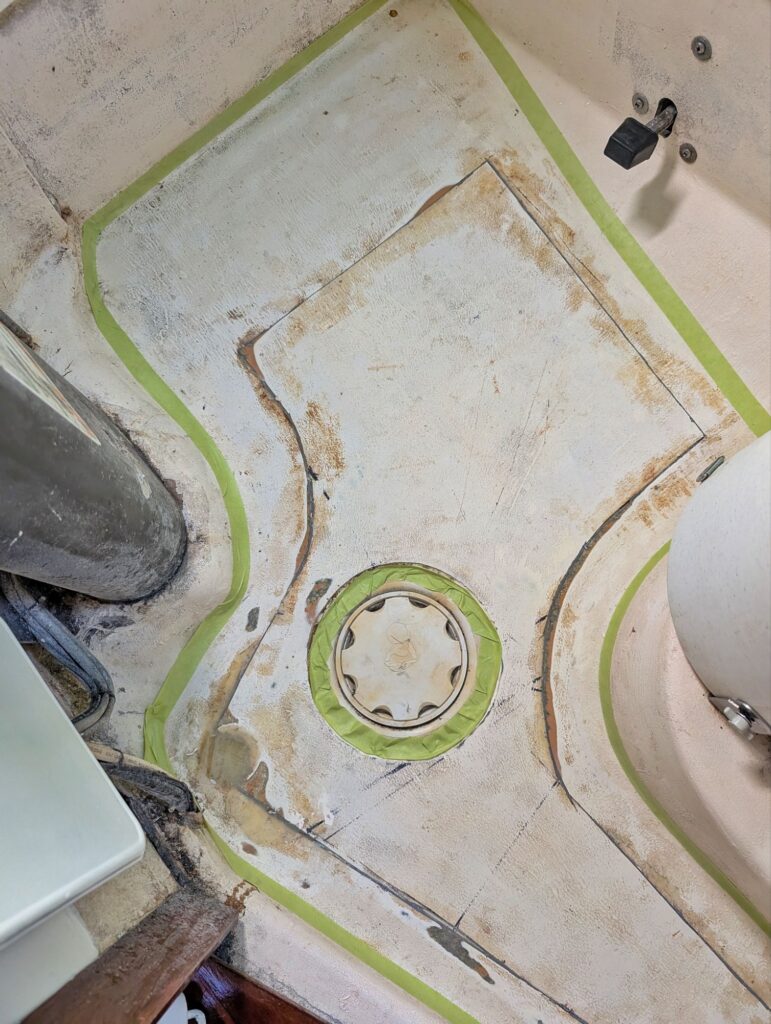
And in a room as small as our bathroom that included both the floor/lower walls and the headliner. The floor was on the TO DO list anyway since we had to cut it open a few months ago to address some rot in the balsa core. Steve had sealed the cut with epoxy but I had the idea of using the Kiwi Grip paint that we did the nonskid decks with as the topcoat. If it can survive outside, I figured it could survive in the bathroom. If I used a flat foam roller then I knew I could get a fairly smooth finish. Of course this meant sanding down the epoxied seams and trying to level out some ugly texture that was already on the floor from a previous repair.
But who doesn’t enjoy a bit of epoxy and fiberglass dust now and then?! Especially in a small space. Ah yes….boats!
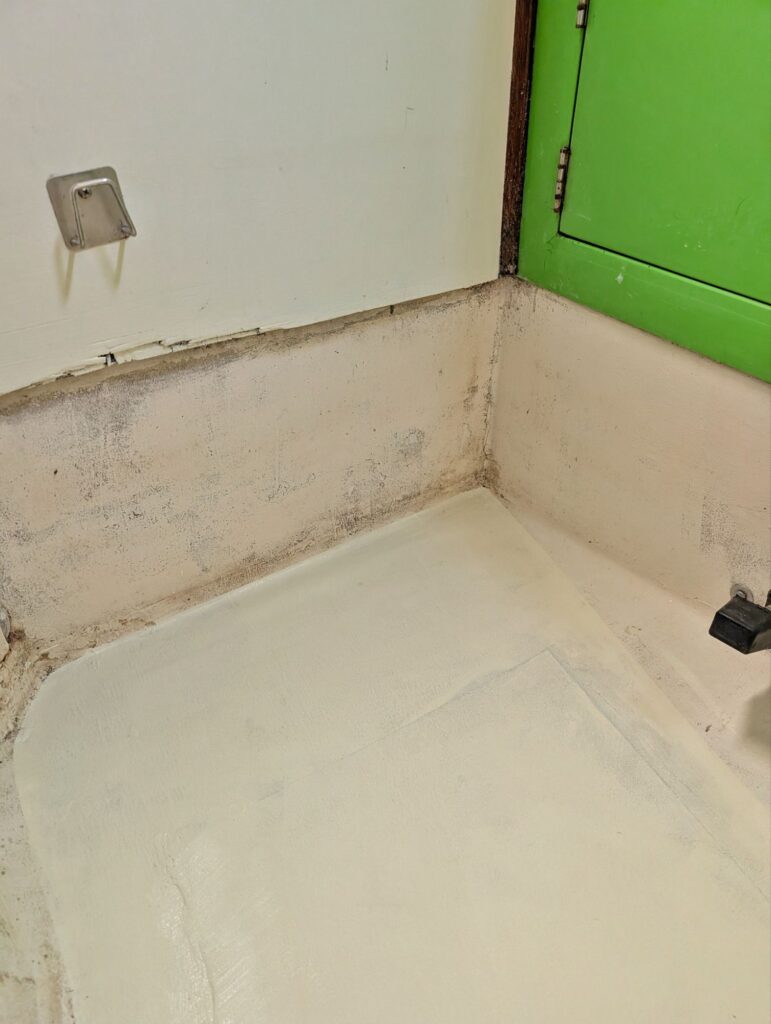
I thought I would just do the floor that is under the teak grate, covering the repair, but of course that made the 30 cm of lower wall and the pedestal the toilet sits on looks terrible. So, the next day I took the toilet out and painted everything. Totally worth the effort.
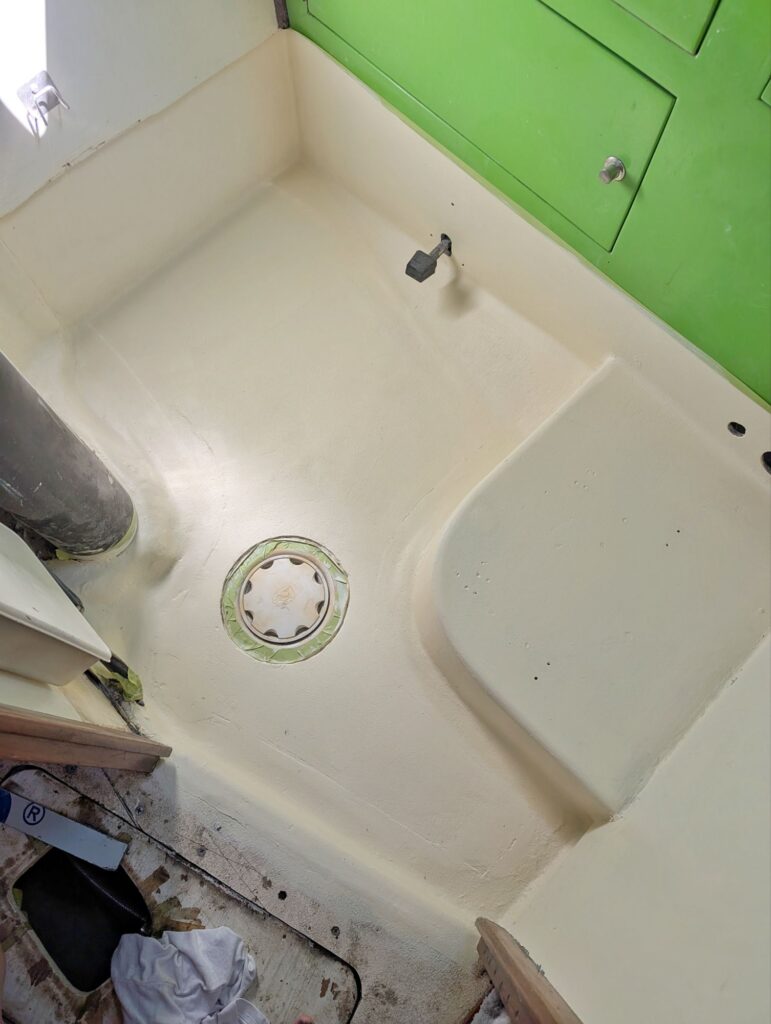
As for the headliner….well it looked so grotty that I just HAD to recover it. I didn’t want to use cream again because this area is always wet and humid and the headliner always looks gross. I thought about a dark grey or black to pick up on the countertop, but was worried it might make the space look small and dark.
Maybe it was paint fumes, or maybe I just like to be bold, but I ended up taking a risk and ordered some lime green vinyl. I hate waste, but figured for $10 if it was the wrong shade or the wrong vibe I would eventually find a use for it.
Turns out it was a PERFECT colour match for the cupboards!
It is, as Steve said when I surprised him with a photo after the installation, “A lot of green.” In fact, he texted that twice. I was totally disappointed and may have threatened to rip it down. But it turned out SO WELL, and it looks SO GOOD, that I am trusting my design decision.
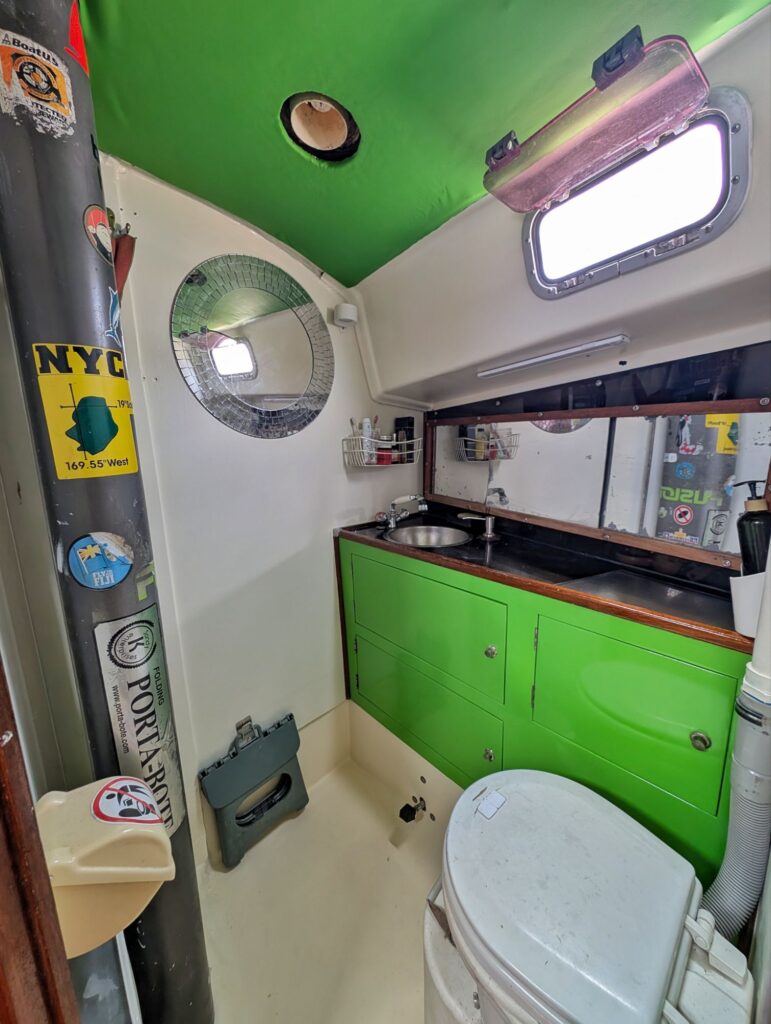
I still have to touch up the varnish, put some storage baskets on the walls, make a new curtain door (I finally found another curtain to upcycle this week!), reglue a few areas of the teak grate for the floor, and hopefully replace the acrylic mirror sliding doors, but I am loving the new look already. Amazing how a couple hundred bucks, some elbow grease and imagination can totally change a space.
As for the vee berth…?
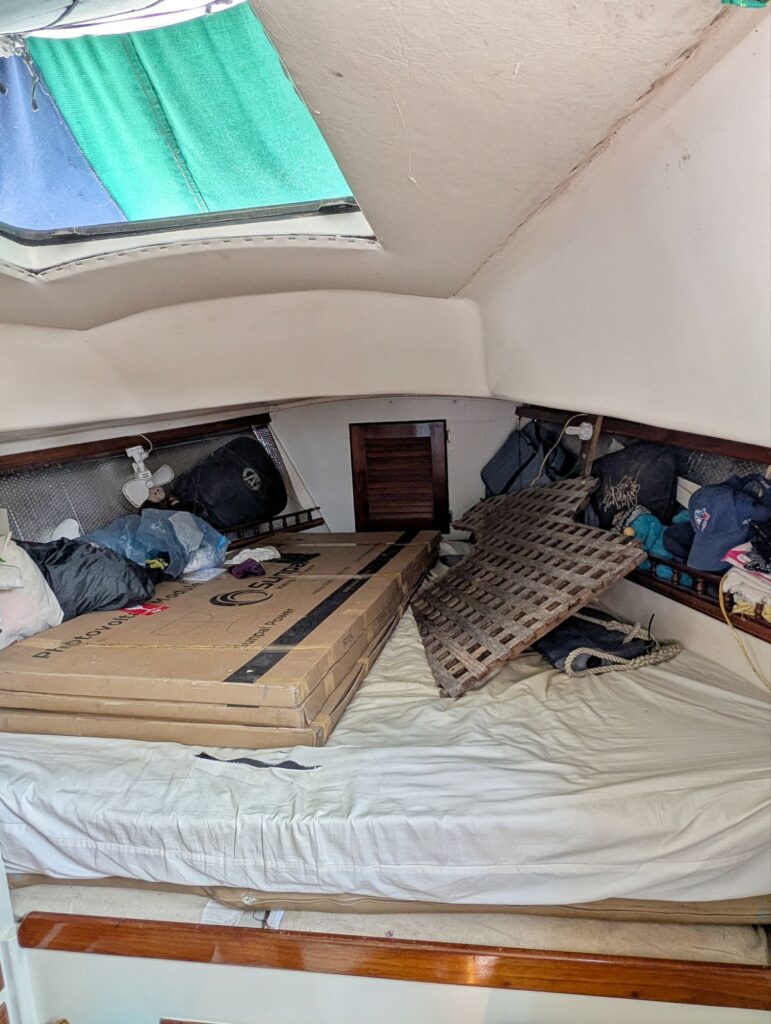
Well it is still a bit of a storage depot, but I hoping to install the new solar panels soon, so fingers crossed I won’t be sleeping on the sofa next time I post an update!
Love,
H…&S