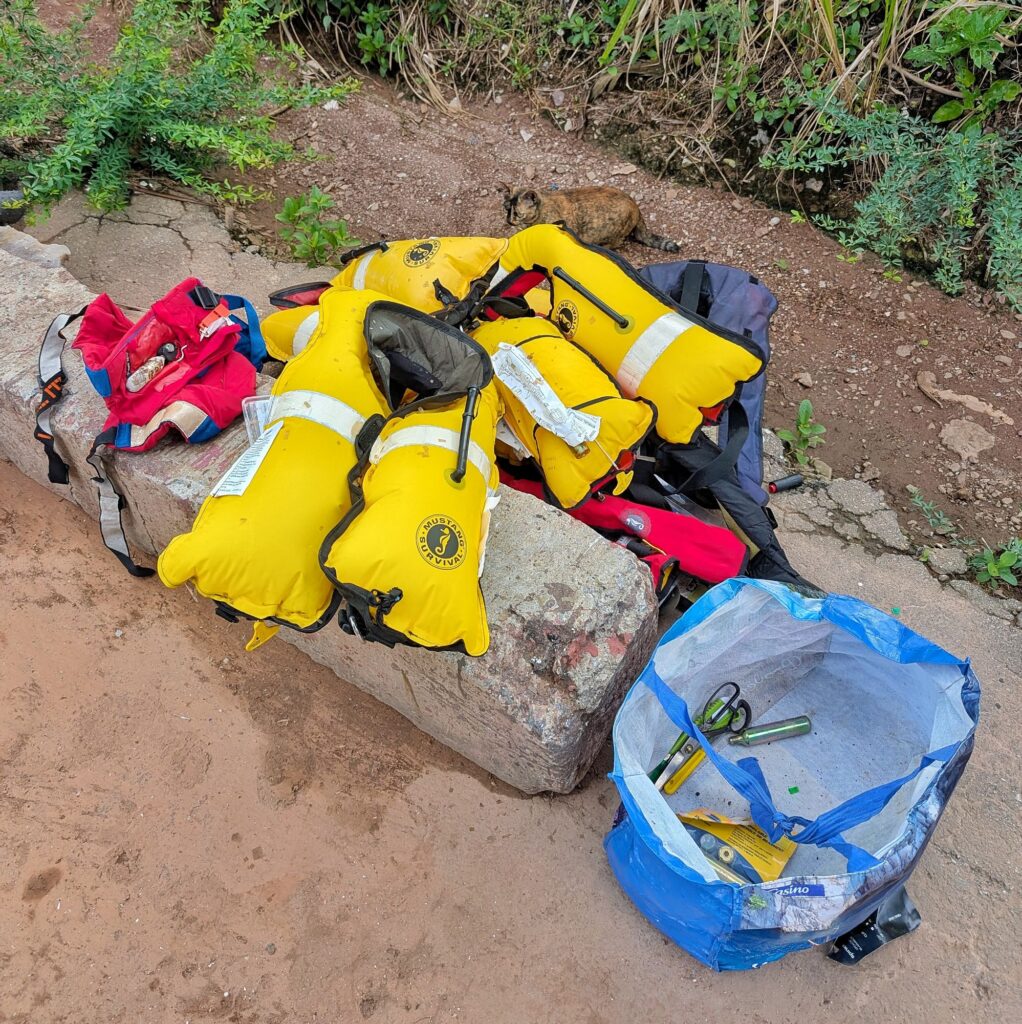
Last year, while we were in the boatyard, I wrote an article about PFD’s, or personal floatation devices, AKA life jackets/life vests. After doing the research for the piece I decided that our Mustang inflatable life vests were not only long over due for inspection, they were probably well past their prime.
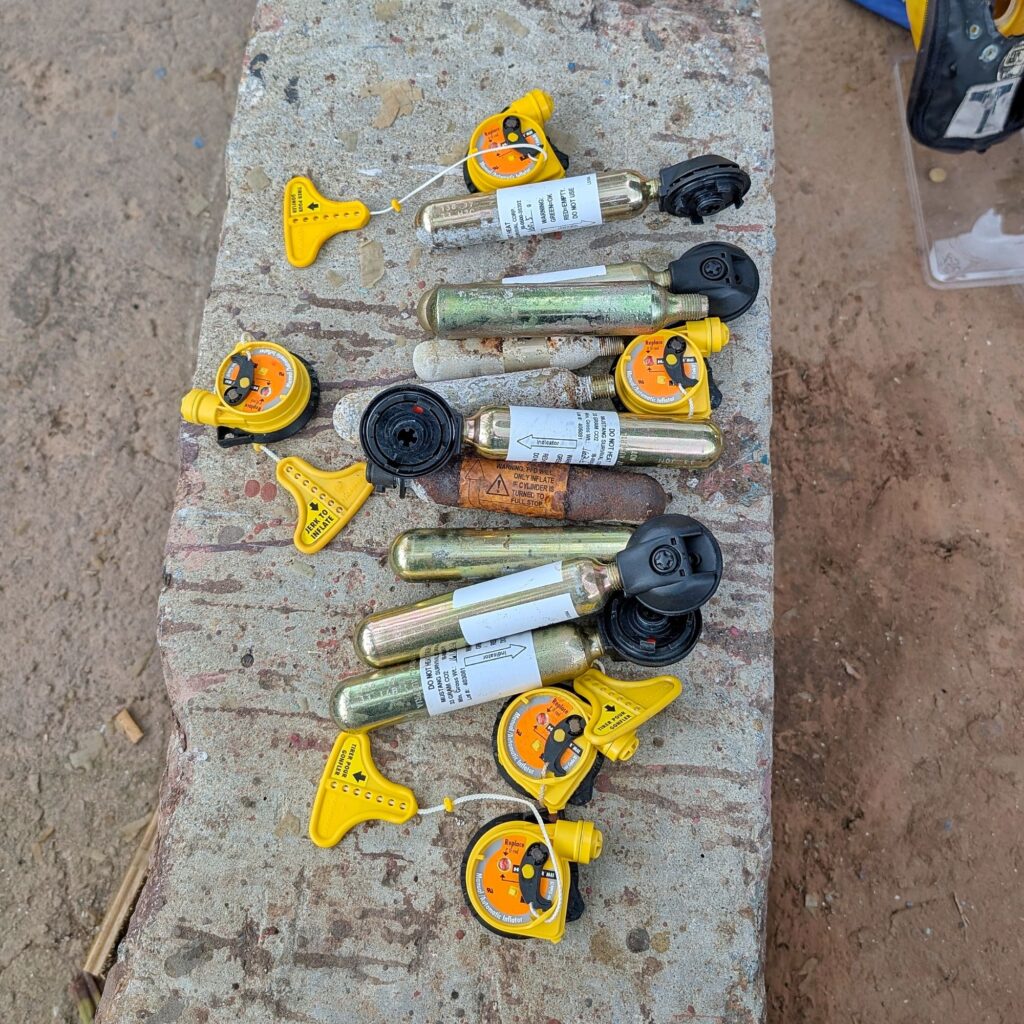
Disposing of such items isn’t as simple as throwing them in the trash since they include pressurized CO2 cartridges. I needed to puncture each one to ensure that when they were crushed or, more likely burned cuz that’s what they do with garbage around these parts, they wouldn’t cause an explosion. In other words, I needed to set off all the life vests and then reload them with the spare CO2 cartridges and set them all off again.
I took everything downstairs and one by one pulled the manual inflation tags, jumping each time the life vest instantly inflated.
It had been a while since I’d heard a life vest go off, and obviously forgotten how loud the POP and HISS of the CO2 cartridge being pierced, the bladder pulling apart lines of velcro as it unfurls and inflates, really are. It all of happen in seconds, so even though braced for it, it was still rather like popping a balloon – abrupt.
To my surprise all of the life vests held inflation for several hours. Which meant that despite me setting off all the CO2 cartridges the PFDs that could potentially be re-armed and reused. This meant that I couldn’t responsibly throw them away without damaging them beyond use, lest someone fish them out of the bin. (And I know things like this happen because I have rescued things from the bins at several boatyards. One man’s trash…)
As I cut up the first couple life vests I made sure to salvage the webbing and buckles and any other bits that looked interesting.
In the past I’ve used webbing as chafe guard, to repair holes in canvas, to secure padded seats in dinghy. The buckles were heavy duty UV stable plastic and stainless, never know when they might come in handy. By the third deconstruction I started to wonder if maybe I could do something with the thick, yellow bladder material as well. Heck, maybe I could even use the abrasion resistant outer shell?
Turns out that I didn’t end up putting much in the bin at all. Instead I folded them neatly, packed them into a large shopping bag, and took them all back upstairs where I promptly put them in a cupboard for a someday project.
This isn’t the first time I’ve disassembled faulty gear and kept the good bits for a future project.
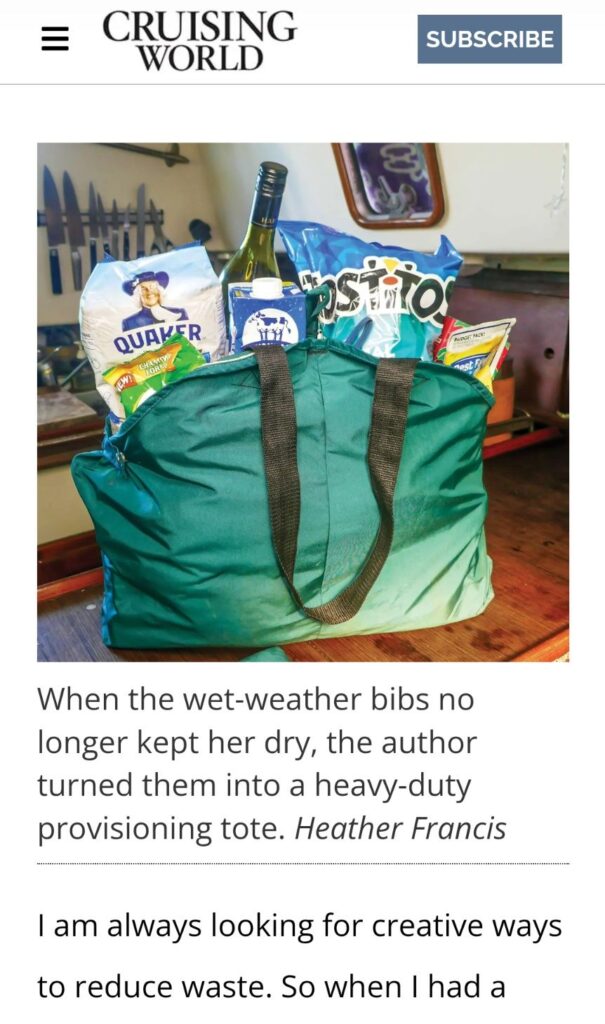
In fact, I not only upcycled some failed wet weather gear into shopping bags, but wrote about it for Cruising World. That bag was soooo good that I made a second one, both of which have been our go-to bags any time we have gone provisioning in the last 5 years. Not only are they roomy but they are strong – one bag fits and easily carries two slabs of beer!
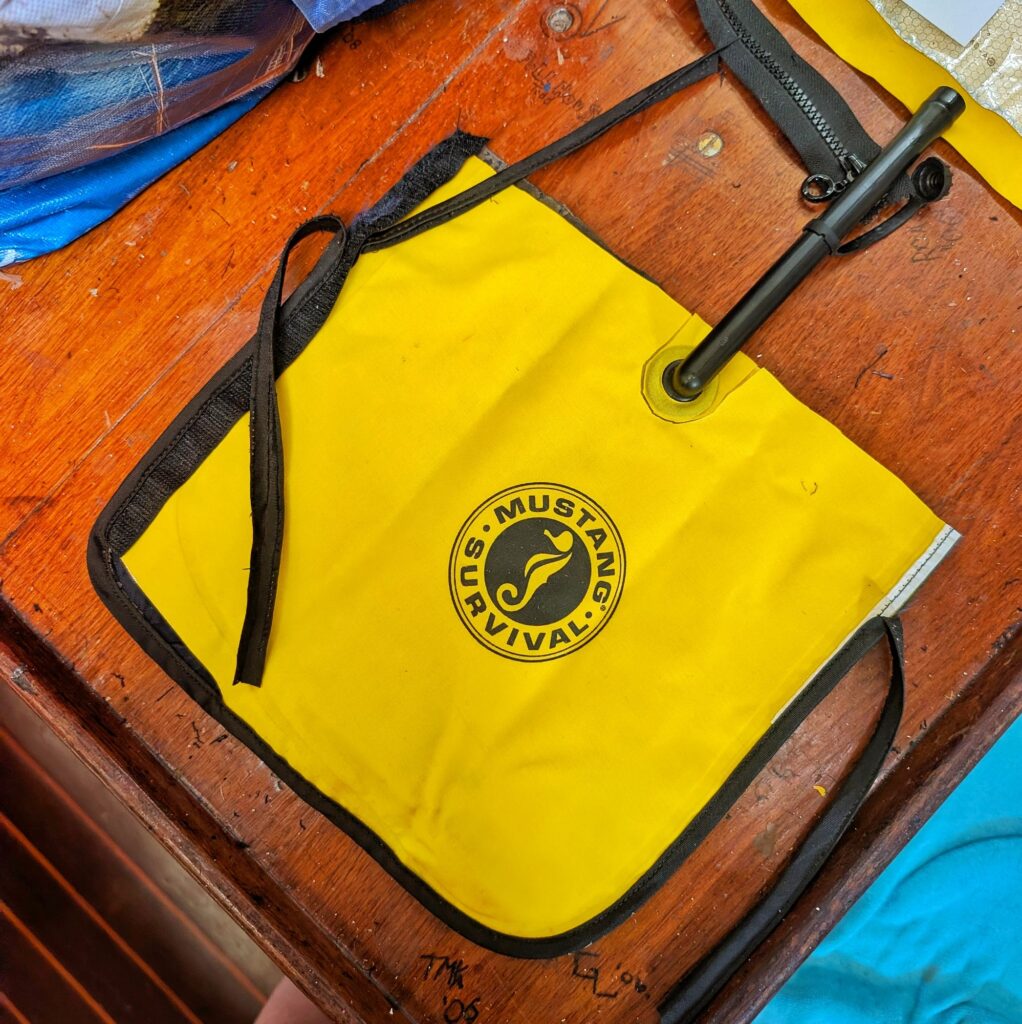
So, when Steve was recently looking for a toiletries bag, something that might have a waterproof compartment for things like a soggy tooth brush or his shaving kit, I told him I had the perfect bag for him.
All I had to do was design it… and then make it.
I dug out those old life jackets and got to work.
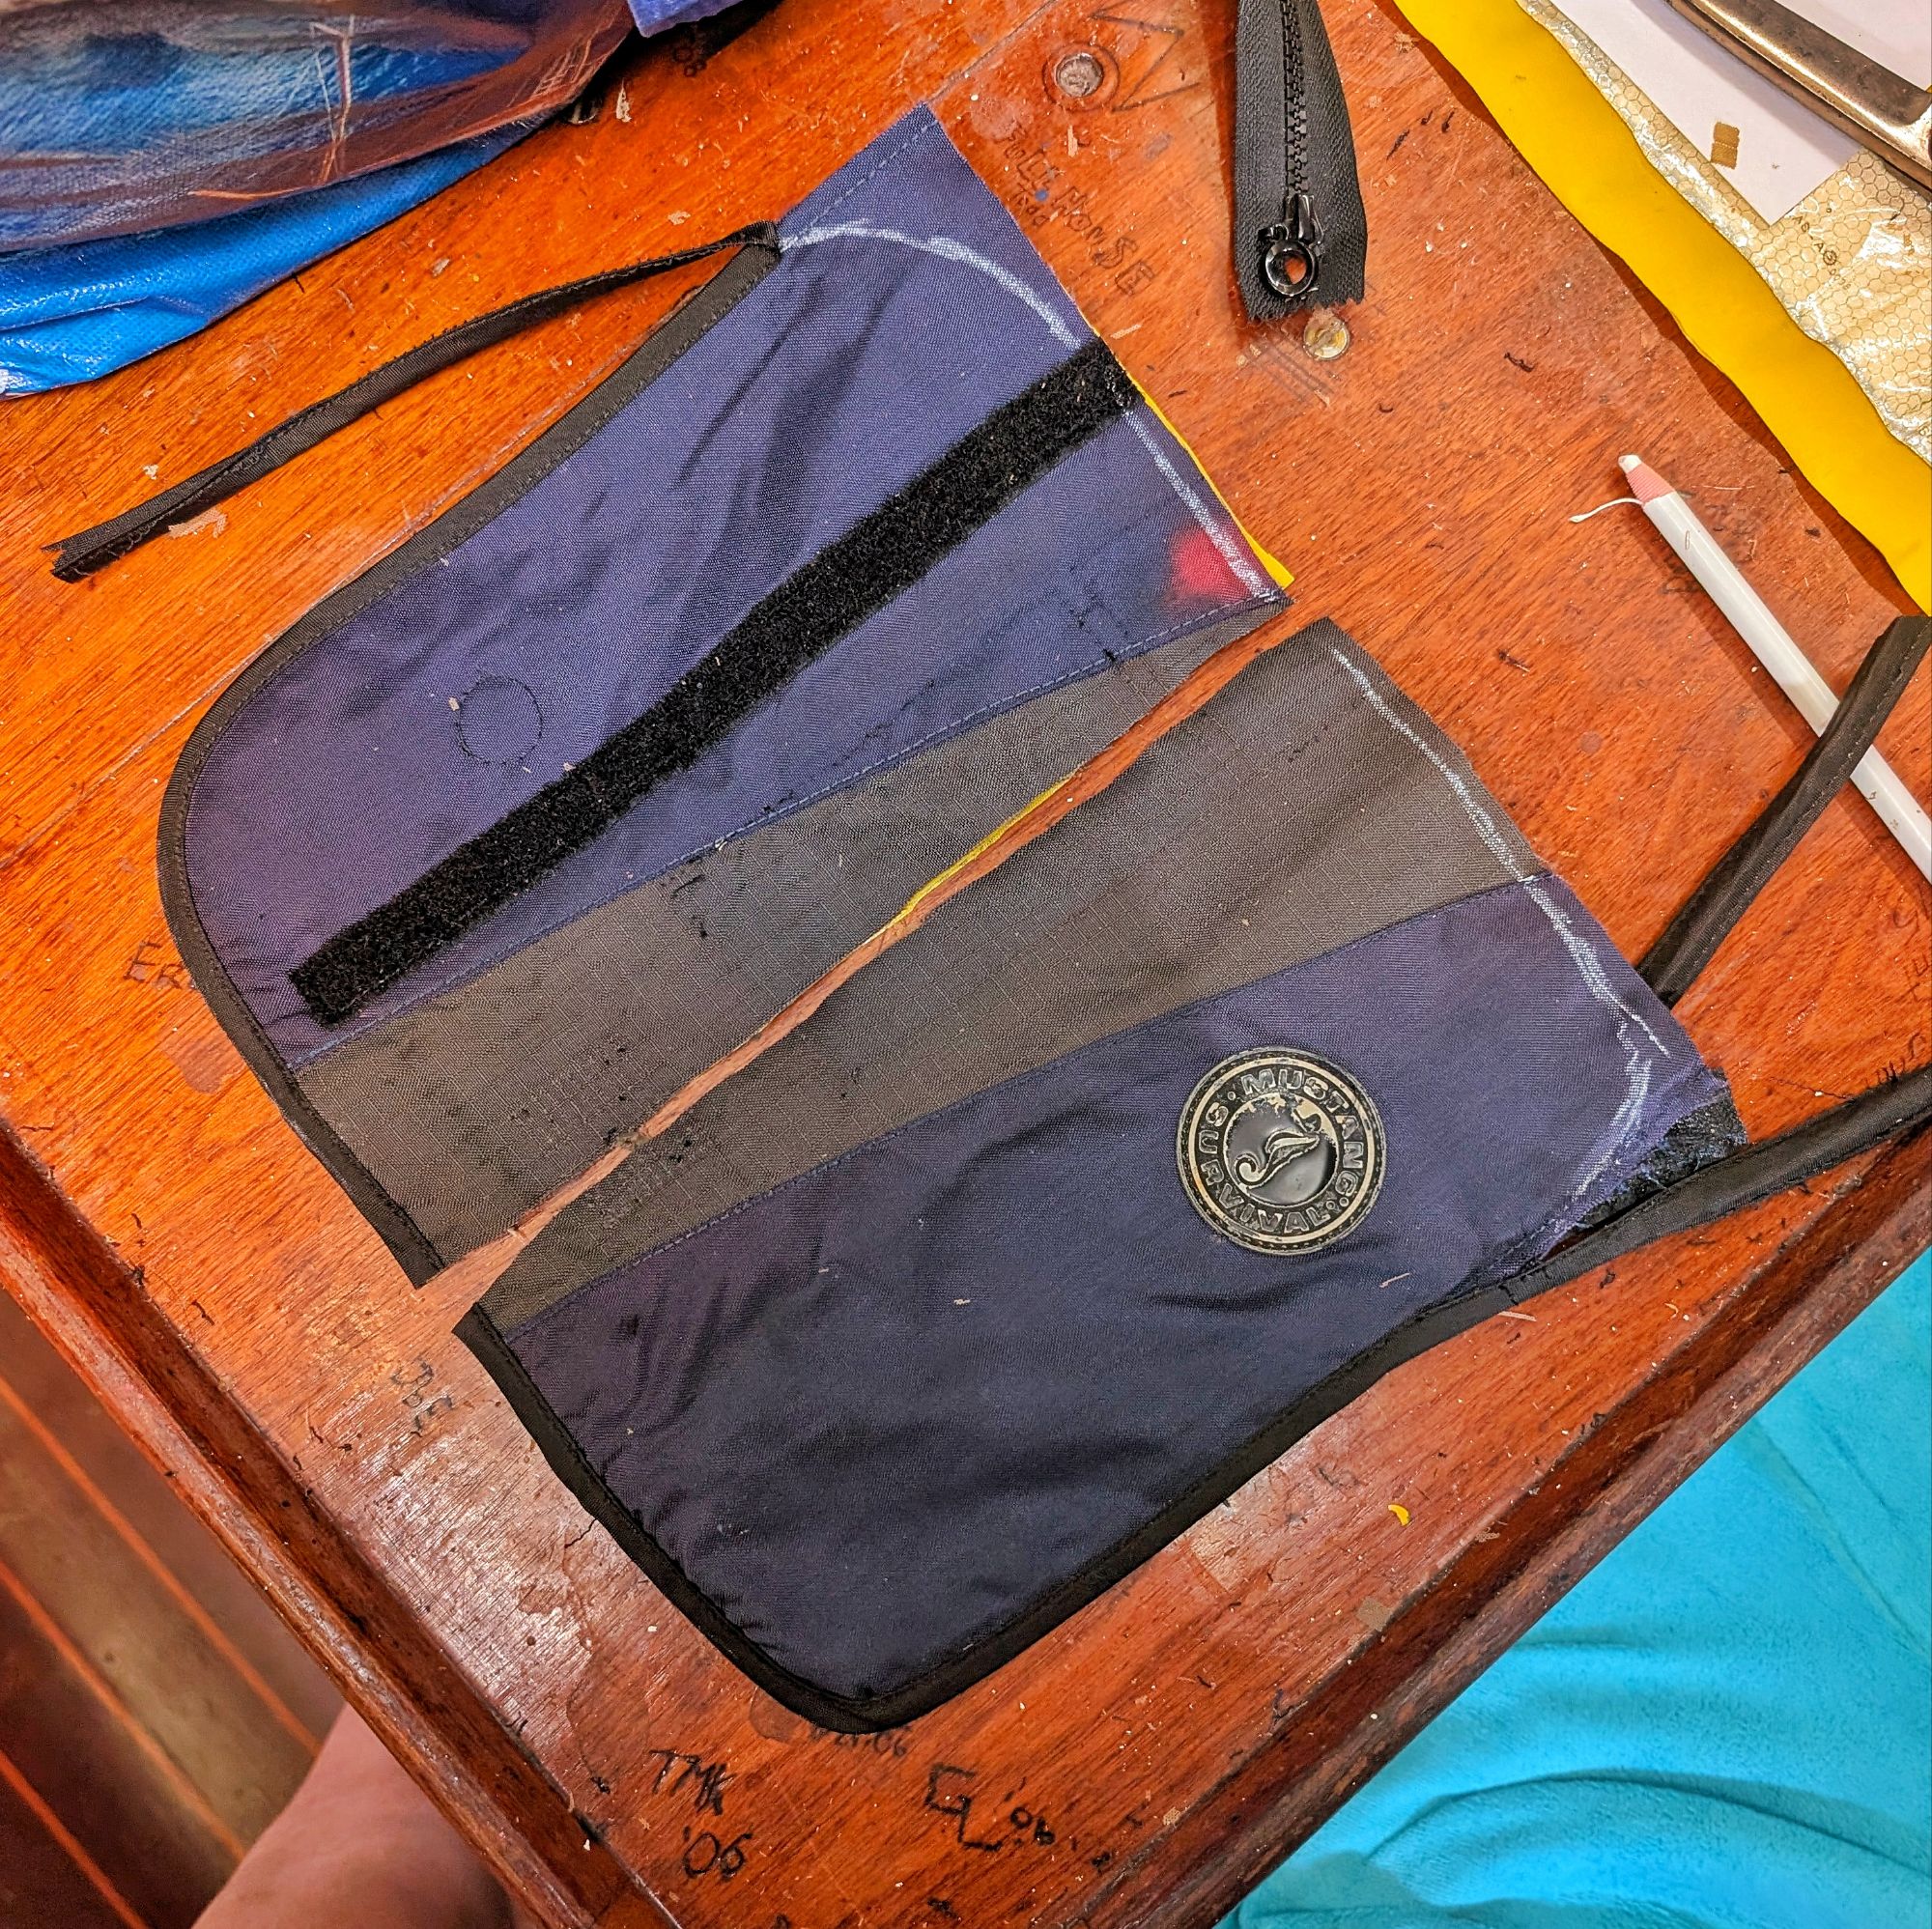
I am usually more of a cut first, pattern later kinda of sewist, but this time I decided to take my time. I had limited materials and some of which had obstacles that couldn’t be useful incorporated into the final bag – like the large manual inflation tube. Cool looking but a potential annoyance as things could get caught on it.
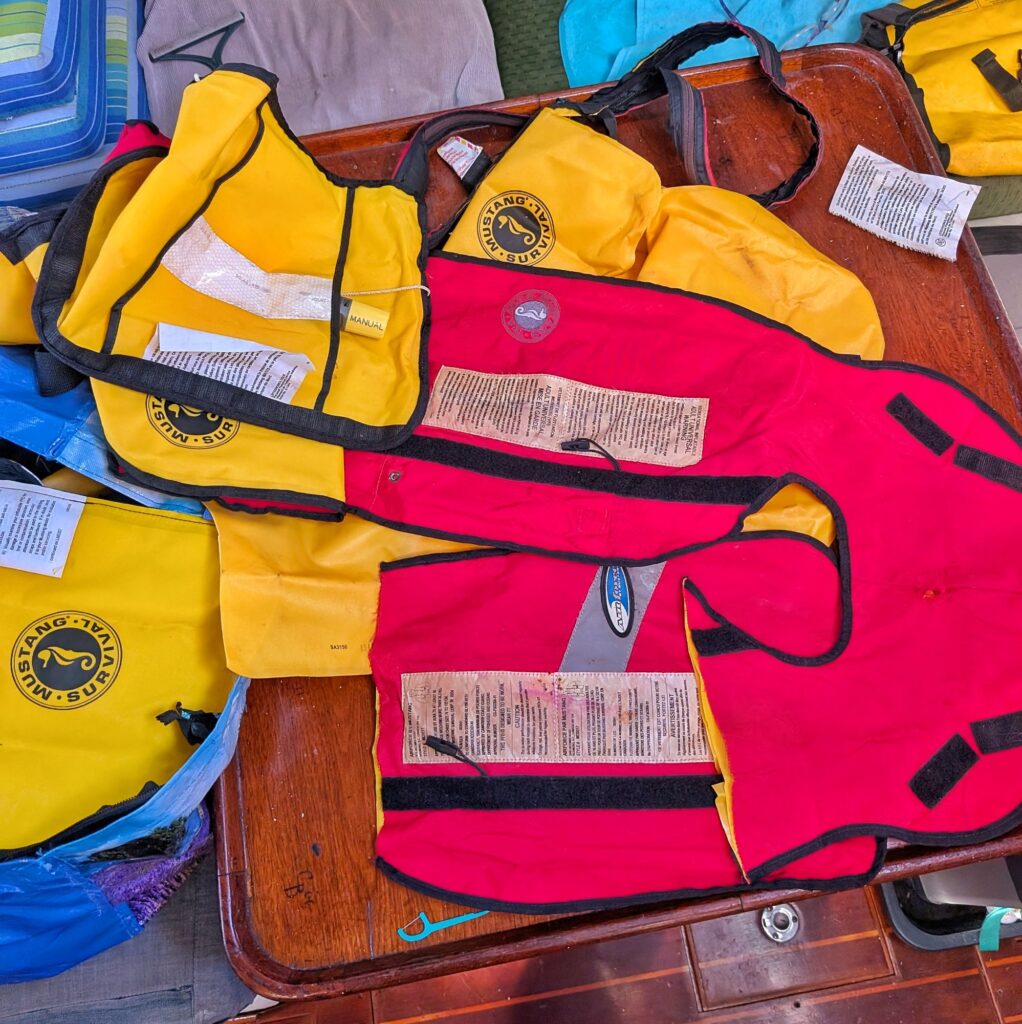
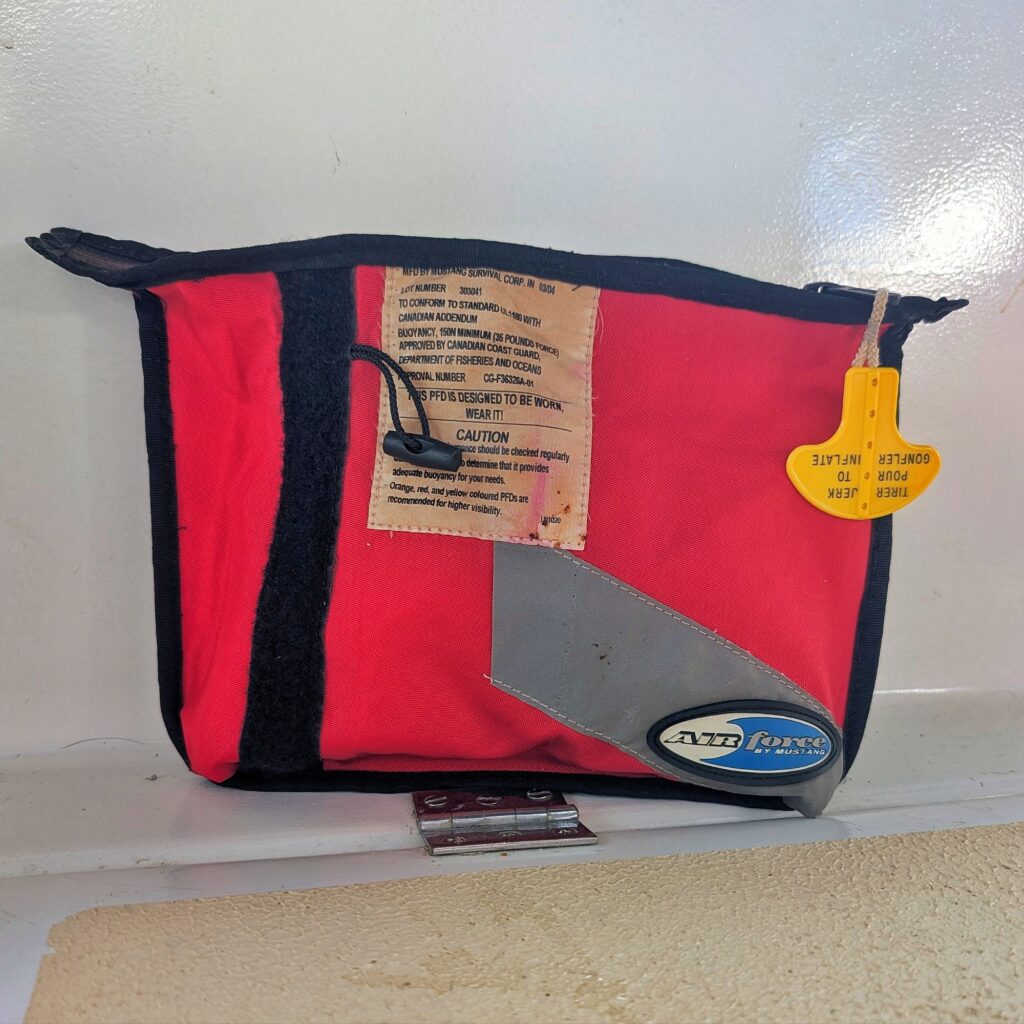
I decided that I really liked both the safety label and the brand logo of a red life jacket and was able to cut one side of the bag complete. To play on the colours of port and starboard I used a left over piece of green material from the shopping bag upcycle for the other side.
Before I even dug out my machine I knew that the easiest way to go about sewing it all this industrial grade material together would be to top stitch it all. This meant I’d have some ugly raw edges to deal with. Armed with a sharp seam ripper and a lot of patience I went about taking enough of the edge binding off the jacket to reuse on the bag, and while I was at it I also freed a portion of zipper to use as a closure.
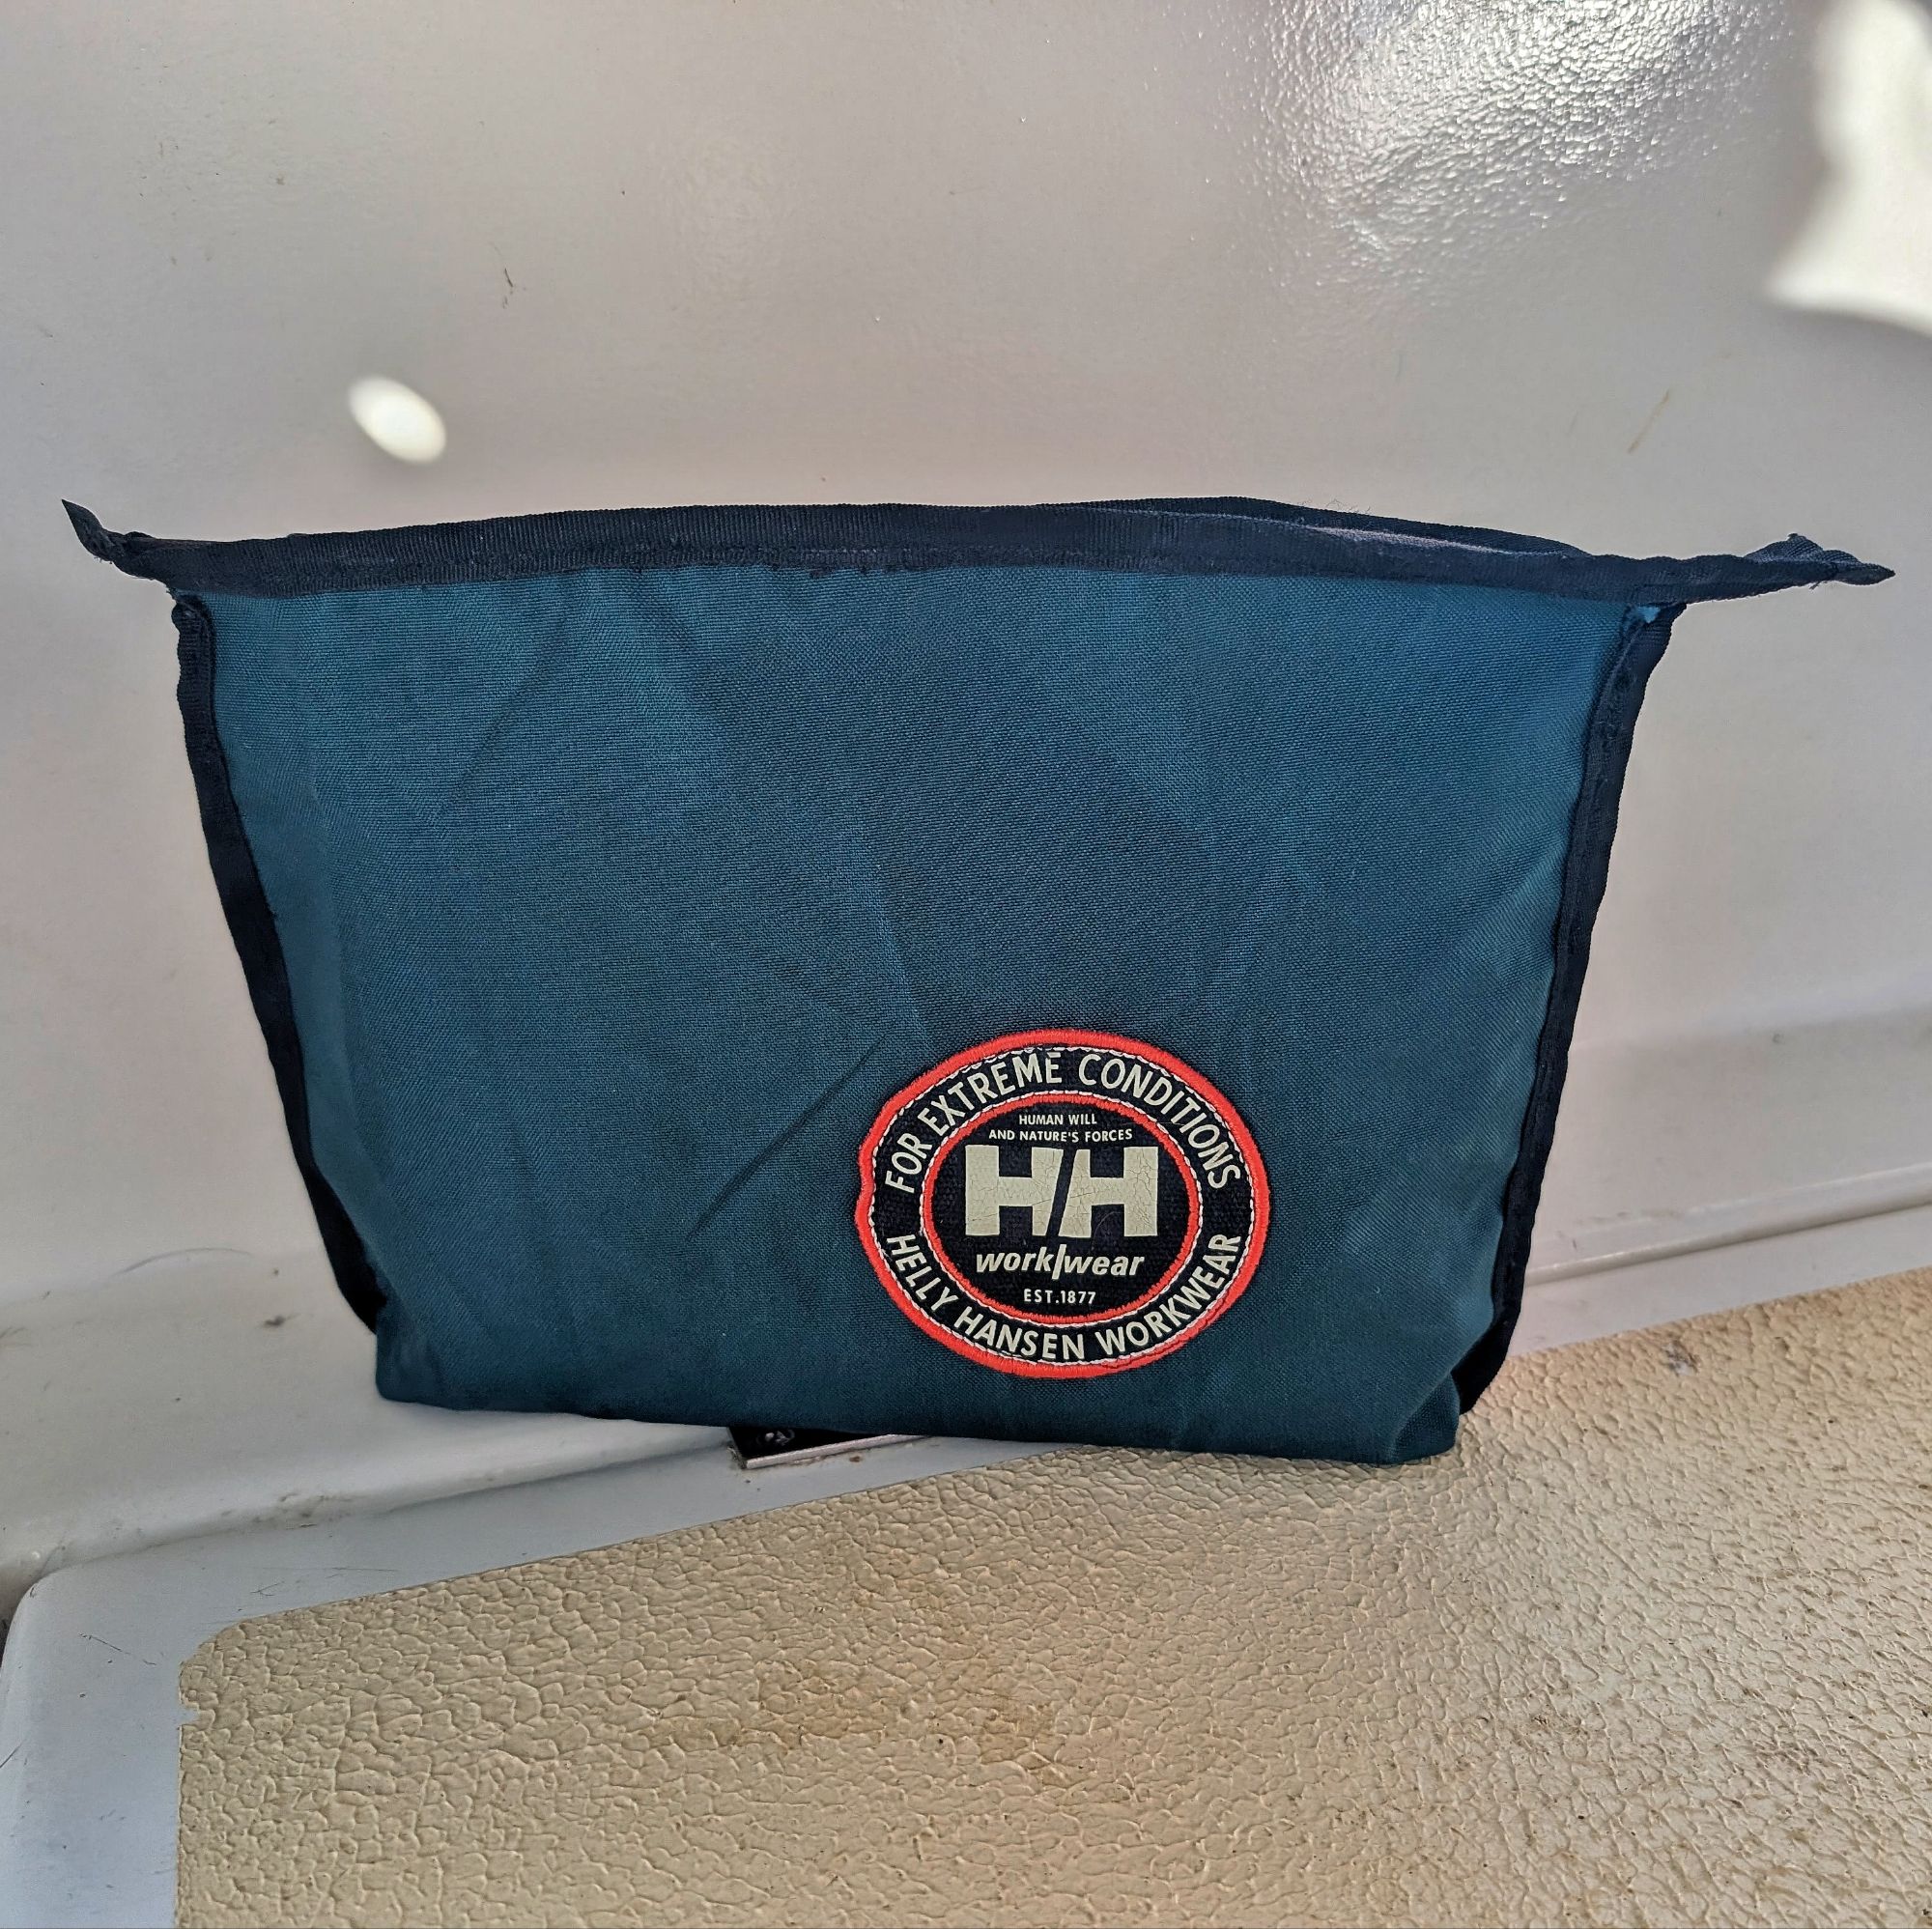
I used the yellow bladder of the life vest for the interior as is would be waterproof, as requested, and also easy to clean if anything spilled or squished out in transit. I added an interior pocket that included some SOLAS reflective tape just for fun.
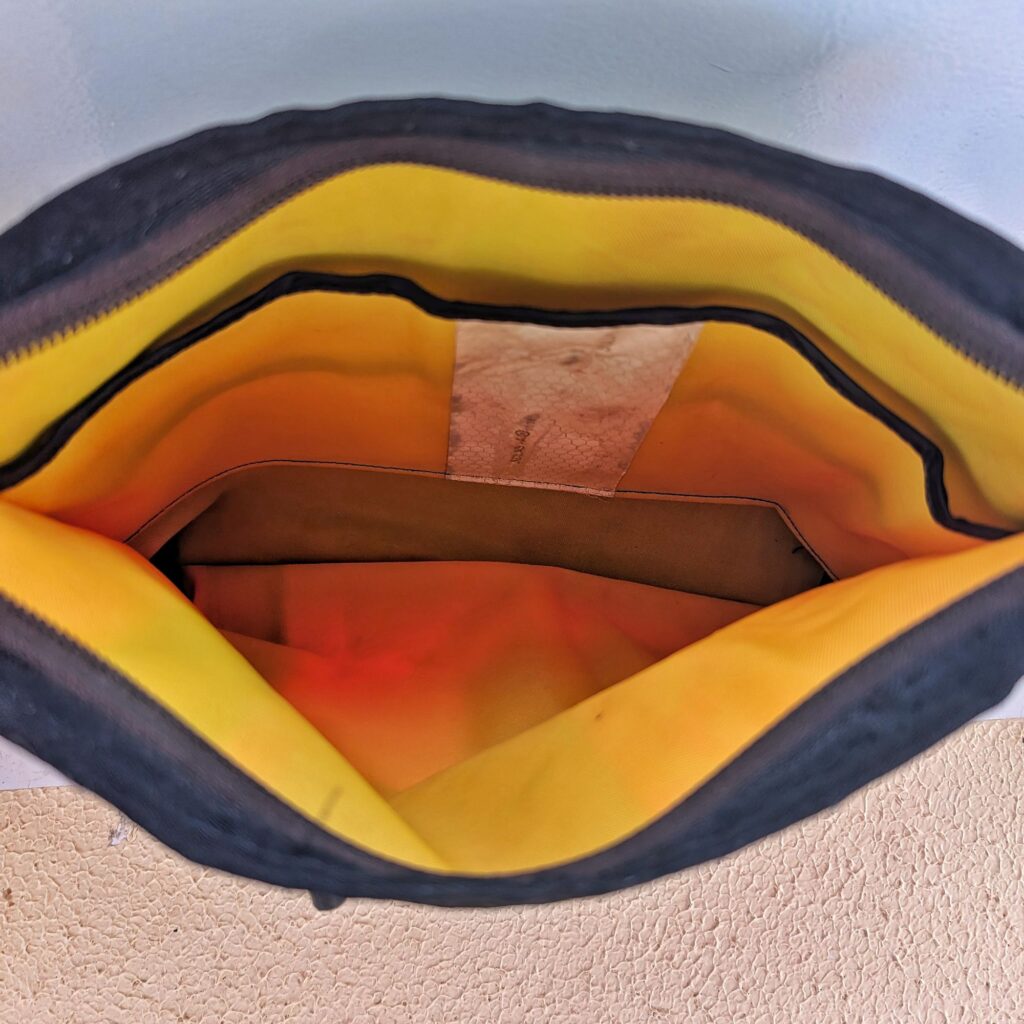
I was very pleased with how the bag turned out, everything upcycled except for the thread! But, I thought it needed something added to the zipper pull to make it a little easier to grasp. Steve suggested I use one of the yellow plastic manual inflation tags and I think it is just the finishing touch the piece needed!
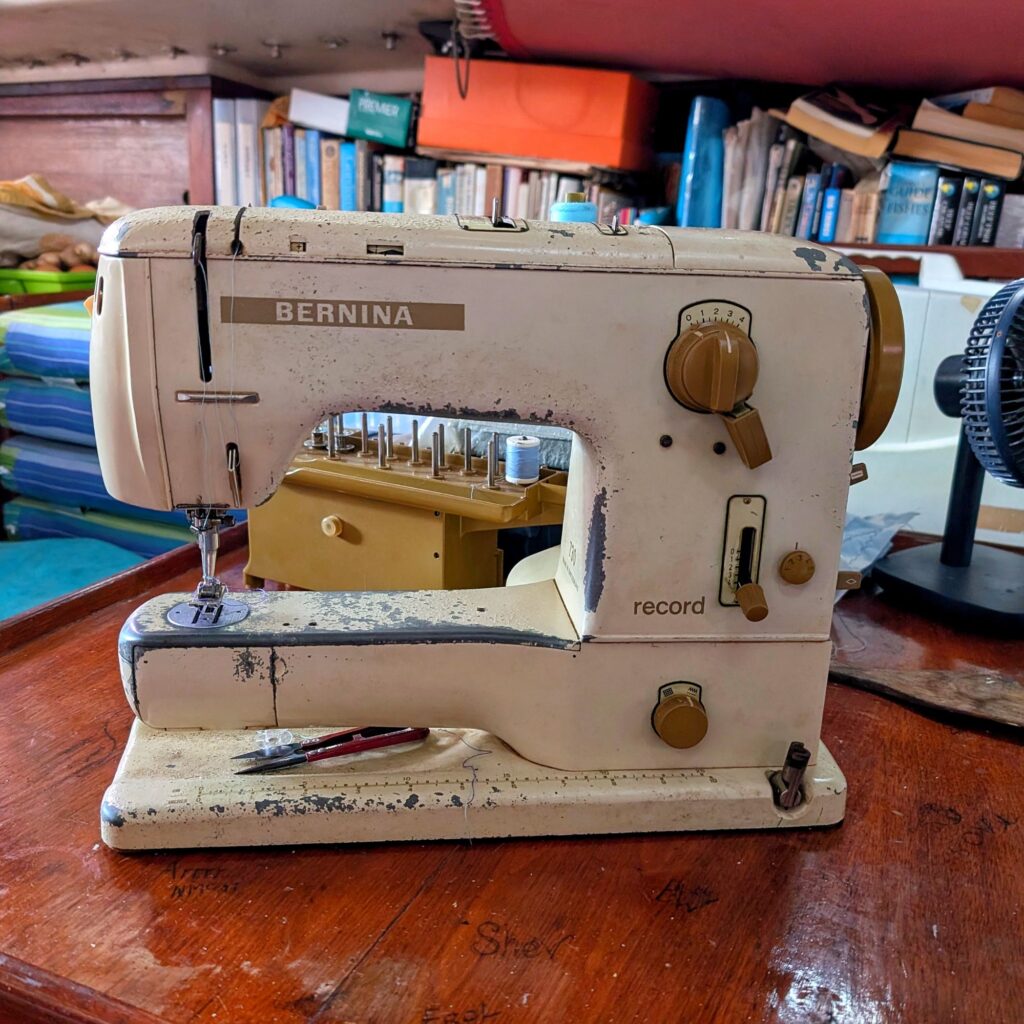
Hard to believe that this lovely machine was rescued from the bin by Steve just over a year ago. (Like I said, one man’s trash…)
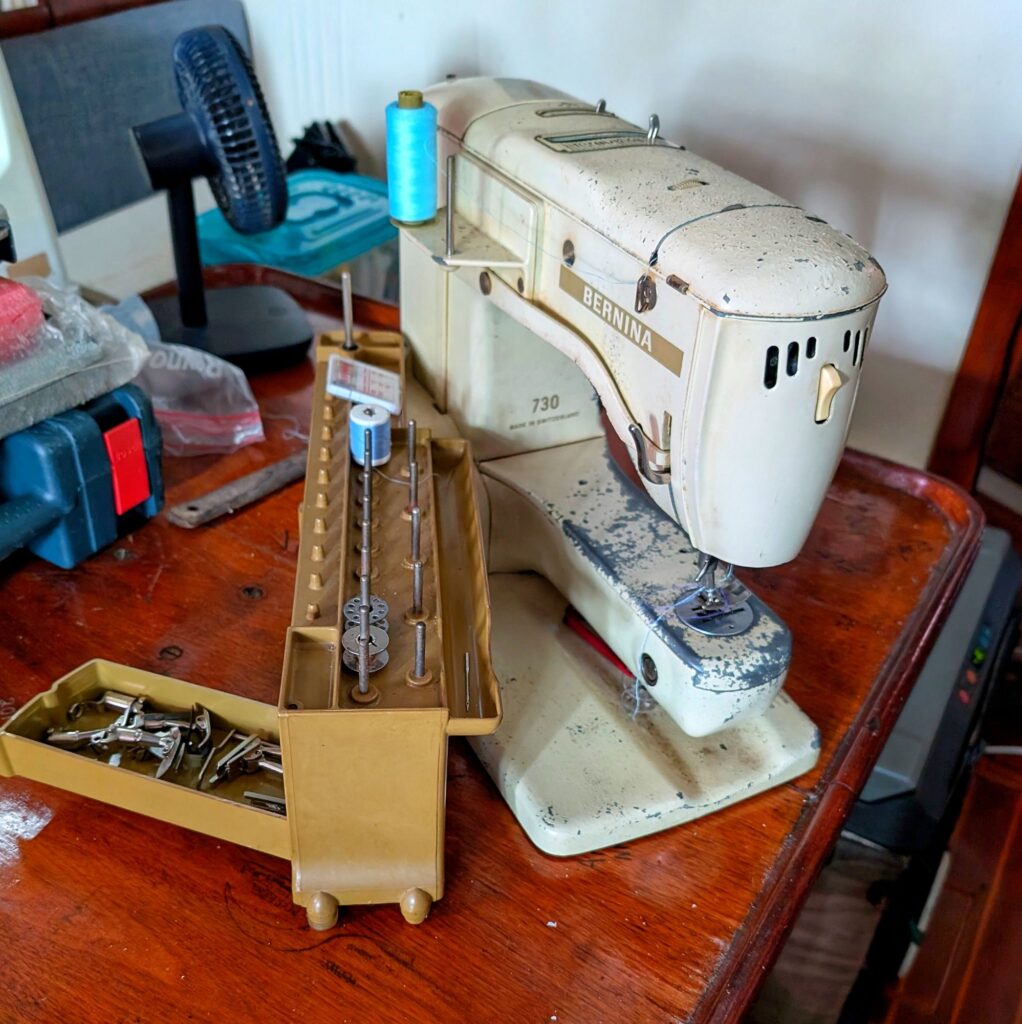
Then the zipper on the denim scrap wallet I made 6 years ago broke, I decided that instead of replacing the zipper I would make myself an upgrade, again using the old life jackets.
I didn’t want to stray too far design wise.
My denim wallet includes a wrist strap and interior division, and was just big enough for money, cards, a few tubes of lipstick, the ever-present pen, and my phone. But I did want it to be just a little bigger and I had an idea about incorporating it into a larger bag that I want to make later on.
I decided the bottom of one life jackets was a good size whien folded in half. And if I didn’t cut the bladder free I could use it for the interior divisions.
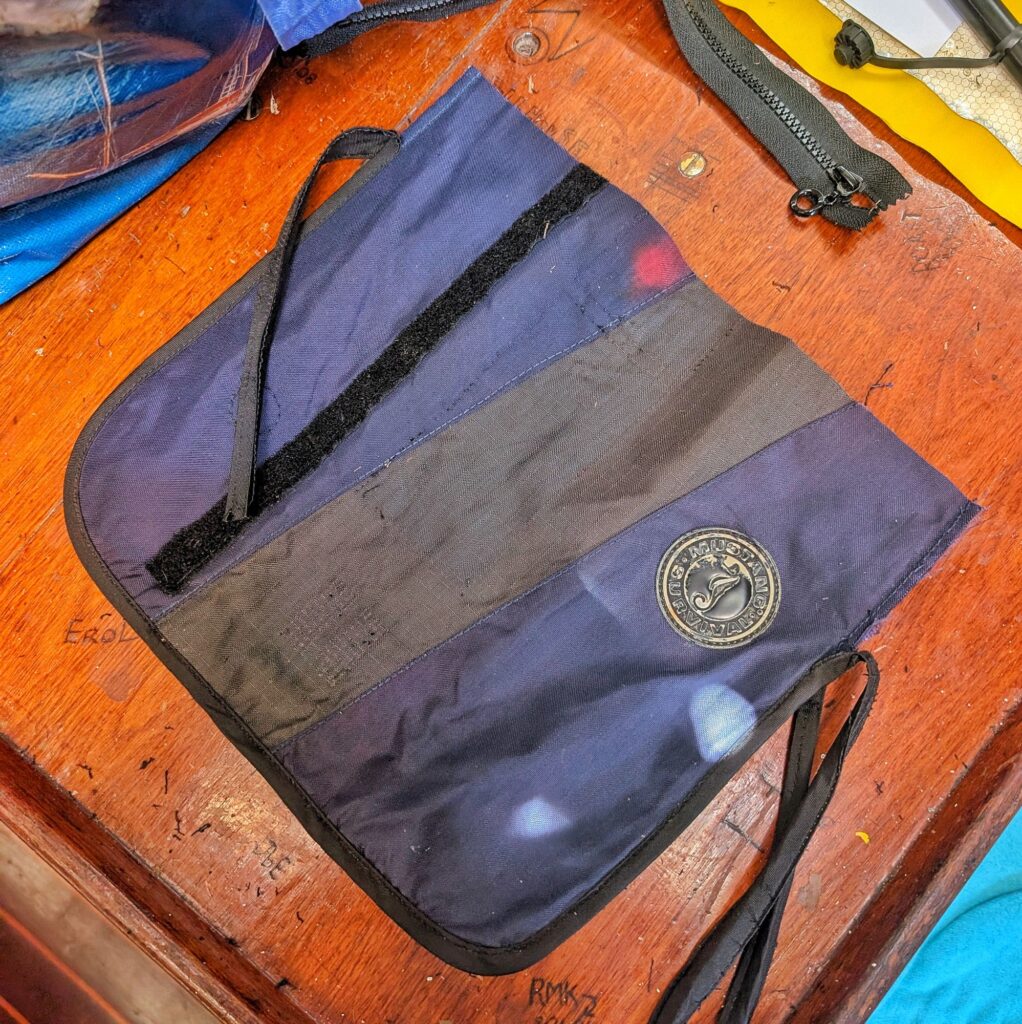
This made things a little bulkier at the seams, which my Bernina struggled with in a few spots, but after a few broken needles we prevailed. I had to use a pre-made zipper, and I don’t love the way it attached, it is functional just not very pretty.
I added one of the safety whistles as I zipper pull both as a nod to the life vest and the carry a ‘rape whistle’ advice that many of us got as young women. Besides it can always come in handy to startle a feral dog or get someone’s attention on a foggy day.
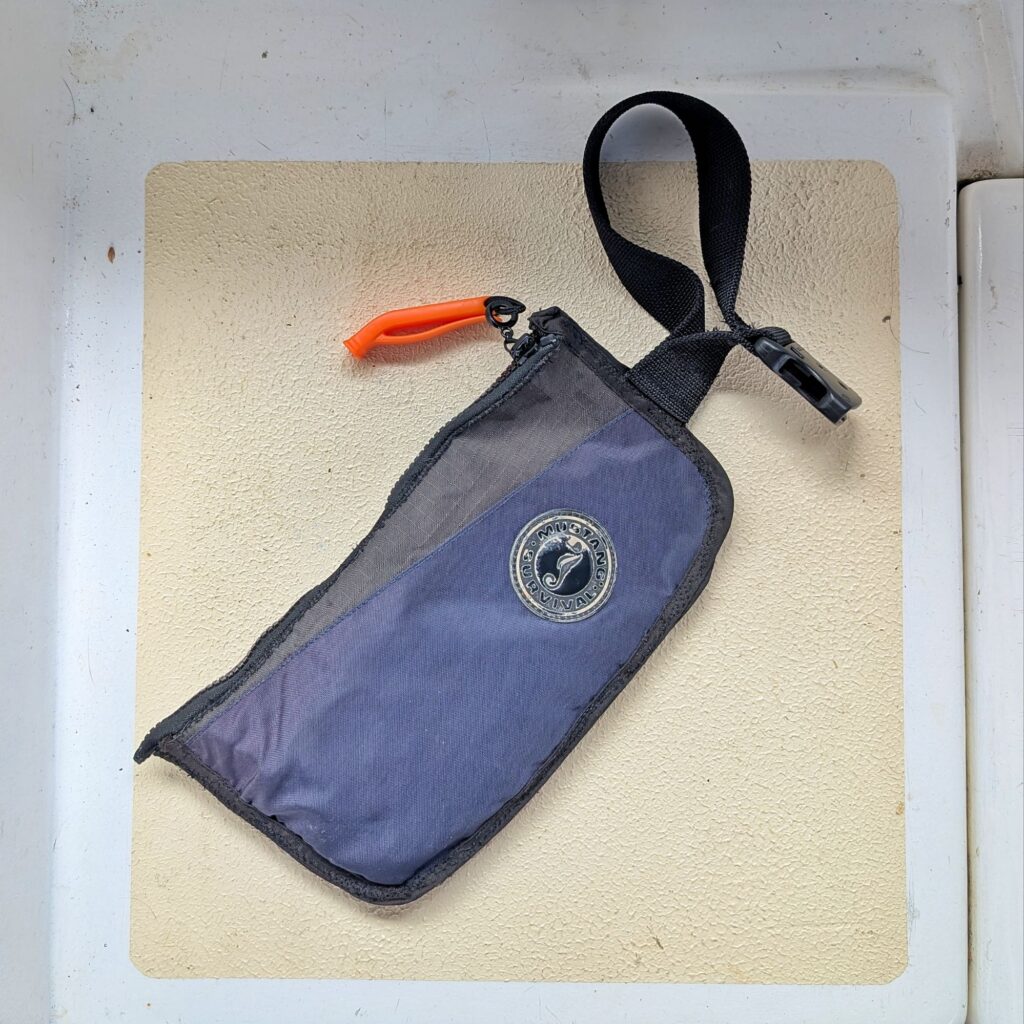
I used the webbing and buckle from the waist of the life jacket for the wrist strap, and decided that for now I would attach the matching buckle side to my 26-year old Kona messenger bag that I take everywhere.

This means that when I am at places like the market, balancing too many things in not enough hands I can let my wallet go and it will dangle safely on my bag. (I tend to put it down on tables and veggie stands and the like, which is never a problem here in Borneo but could lead to trouble in less savoury places. So, a good habit to break.)
I haven’t had enough real world time with this piece to decide if I love it’s functionality yet but I did enjoy the creative process. And since these two smaller pieces haven’t depleted my stash much, there’s no doubt there will be more upcycling updates in the near future.
If you have any project or design idea please leave me a comment!
Love,
H&S
P.S. I also had an piece about upcycling sails published back in 2014!


Hi Kate, Sieneke here from Mustang Survival. I spotted your article and absolutely love your creativity with our old PFDs! So fun! Thanks for doing this and sharing it with the world.
Thanks for reading! Is there an email could reach you at?