Yesterday I made a new batch of chili crisp. It’s a condiment that I consider a pantry staple that fits in somewhere between the soy sauce, fish sauce, vinegar of some sort, sesame oil and the fried shallots, toasted sesame seeds, furikaki, and togarashi.
As you may have gathered I am a condiment kinda gal, but in the funky, spicy, crunchy way.
(You can keep your ketchup, thanks. The only thing I really used it for as a kid was to smoother the plates of liver and onions that my Mother made regularly enough that I devised a plan to eat it. 1.Cut the liver into bites small enough to swallow whole. 2.Pour enough ketchup over it to mask the flavour AND the smell it. 3. Try to breath mostly through your mouth. Following this strict plan of attack I could manage to get enough of the liver down to be excused from the table, but it did nothing for my love affair with ketchup.)
Anyway, back to chili crisp.
You may have heard of it already since it was a ‘thing’ on the internet a few years ago. (Surprise, another ‘trend’ I am woefully behind.) Basically, it is a mixture of dried chilies and garlic, and various other bits that have been covered in hot oil and then left to cool. The result is a chili and garlic infused oil, and a delightful mixture of crispy bits. Perfect for drizzling over….anything in my books, but rice dishes, eggs, noodley things, stir-fries, peanut butter sandwiches. You get the idea.
The best thing about chili crisp is that it is a pretty easy recipe that can be scaled to makes one jar or 10 jars. Oh, and the ingredients are infinitely variable and it only takes about 10 minutes to make.
BASE INGREDIENTS: Neutral Vegetable Oil, Garlic, Dried chilies. If you ONLY have the base ingredients you can still make a kick ass chili crisp. However, I like a few additions – dried shallots, toasted sesame seeds, black sesame seeds, a grind of pepper, and some salt. As mentioned above, theses are things that are easy to find and inexpensive for me, so I always have them on hand. And since I add them to almost every savoury bowl I make anyway, why not toss them in a chili crisp too?
I have also seen recipes that include peanuts, pumpkin seeds, fennel seeds, star anise, cumin seeds, Sichuan peppers, and of course MSG. Just to name a few. Like I said infinite variations.
THE METHOD is pretty simple but you do have to get everything ready to go because there is no stopping once you start. First thing is first, find a jar. I like a small, 250 ml/1 cup, mason jar, but any GLASS jar will do as long as it has a good lid on it. This amount will last us a few months, and we use it constantly, so I do advise to start small.
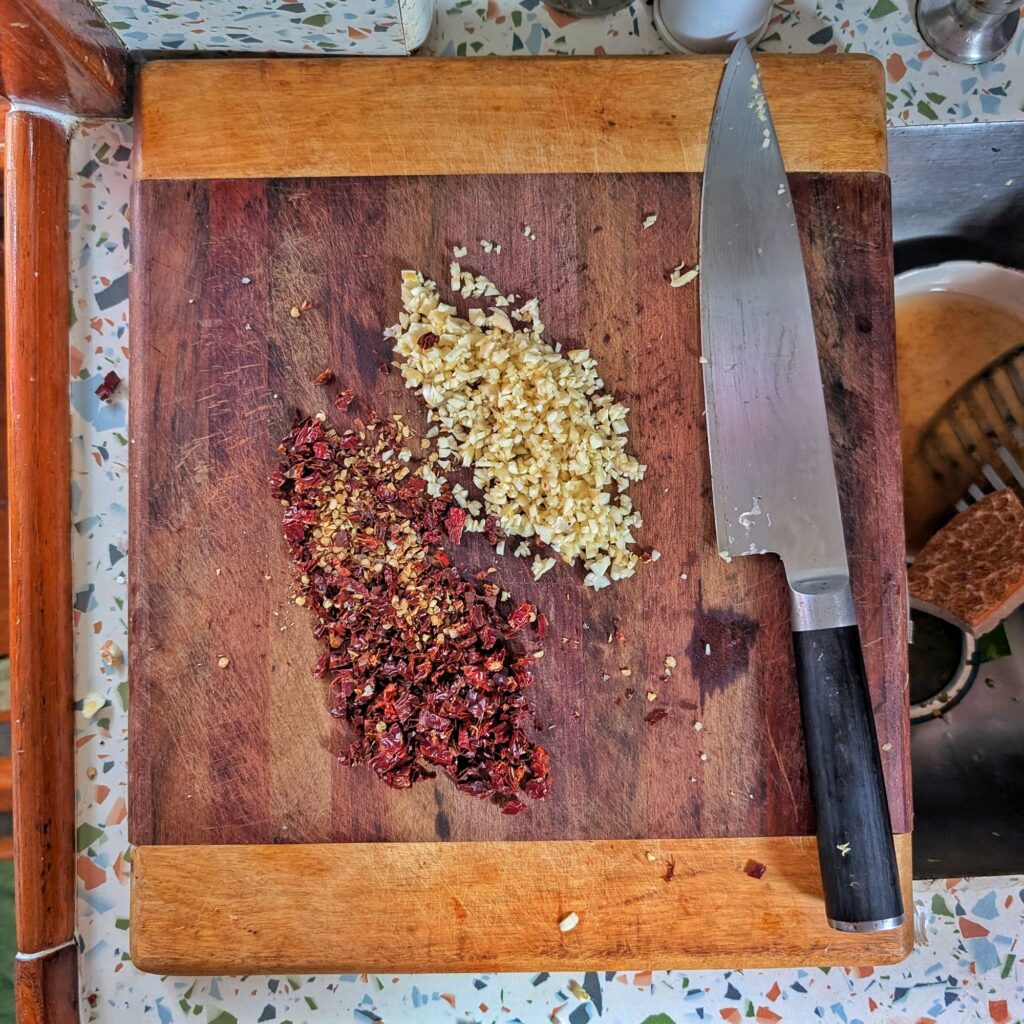
Finely slice or dice your garlic. I prefer to dice the garlic rather than fuss around getting paper thin slices. It is just quicker and less injury prone and I like that it results in a more constant texture overall. Set aside. For my one jar batch I used 8 cloves but that was because that’s all I had onboard. I would probably do 10-12 cloves or a whole bulb if I was planning ahead. ( I like garlic.)
Finely dice the dried chilies. So here is where you have to figure out 1. What dried chilies are available where you live. And 2. How spicy you like things.
I sometimes like to use a blend of chilies, some shorter, deeper flavoured but not so spicy ones, some longer, hotter ones. This week I just had some longer, hotter ones on hand so I made sure I wasn’t too heavy handed. I like a chili crisp that has quite a bit of heat, but not so much that it overpowers the other flavours and is physically uncomfortable when eating. Sometimes I blitz the chilies in a small food processor, today I just diced them by hand. I used about 10 for this batch, or about as much volume as the garlic once diced.
A few tips:
Chilies will vary in heat from batch to batch, so never hurts to test them first. If you want to reduce the heat, discard some or all of the seeds. Dried chilies can mold easily so check the insides of each before dumping a whole lot in the wazzer together. Store extras in an airtight container to avoid said mold after opening.
Do not do what I ALWAYS do and wipe your sweaty forehead (or other body parts) when the hand you’ve been touching dried chilies with! Invigorating to say the least….
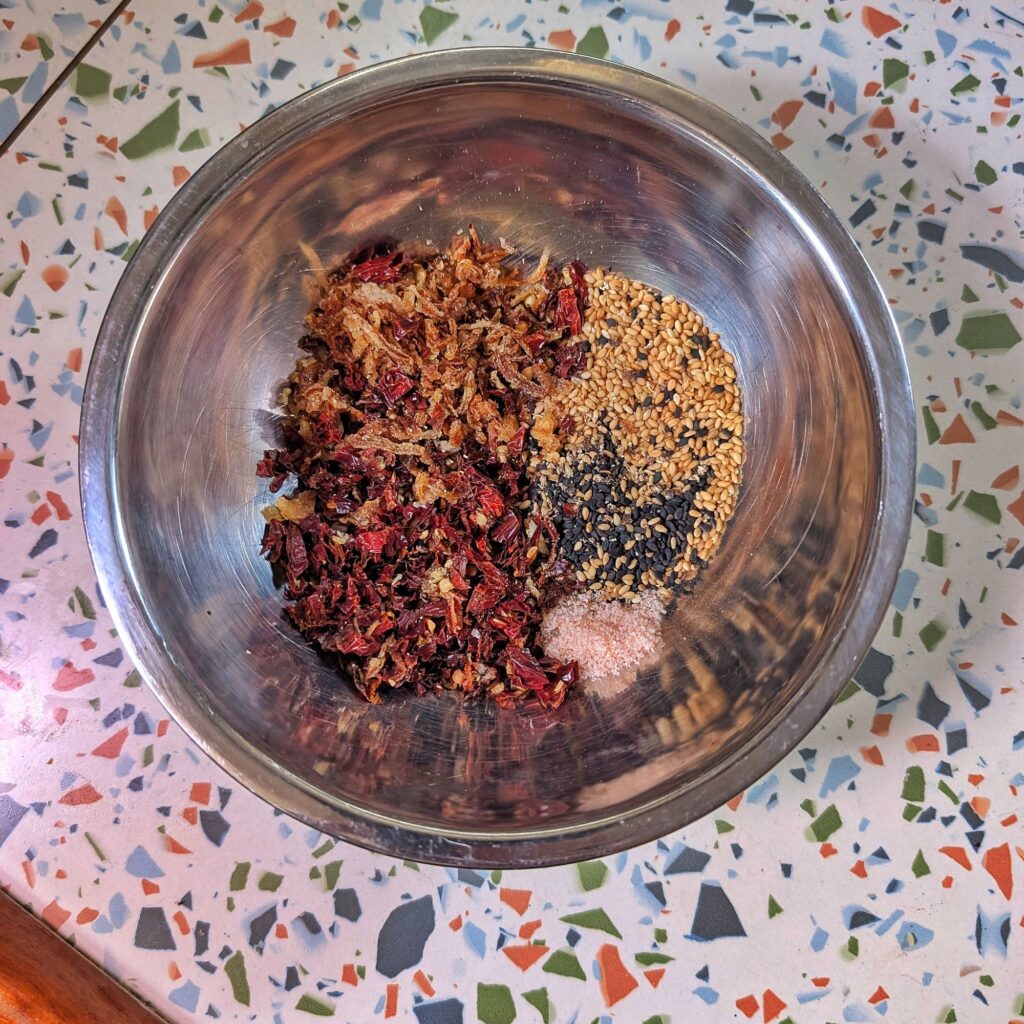
In a small metal bowl add the chilies and any other dried ingredients you want to use. I added 1 HEAPED Tablespoon of each Dried Shallots, Black Sesame Seeds, and Toasted Sesame Seeds. I also added ½ teaspoon of salt and a bunch of cranks of ground black pepper.
In a small sauce pan add ½ Cup Neutral Vegetable Oil. I use rice bran or sunflower, as they are my go-to’s, but peanut would also be a good choice, soy if you like it. Do not use olive oil.
Bring the oil up to heat, adding one small piece of garlic to the pan. When you see the garlic just starting to colour, lower the heat and add the rest of the diced garlic CAREFULLY, this can burn you. Gently stir the garlic to ensure even cooking. It will be bubbling as it cooks, that is the water in the garlic evaporating, allowing to become crispy.
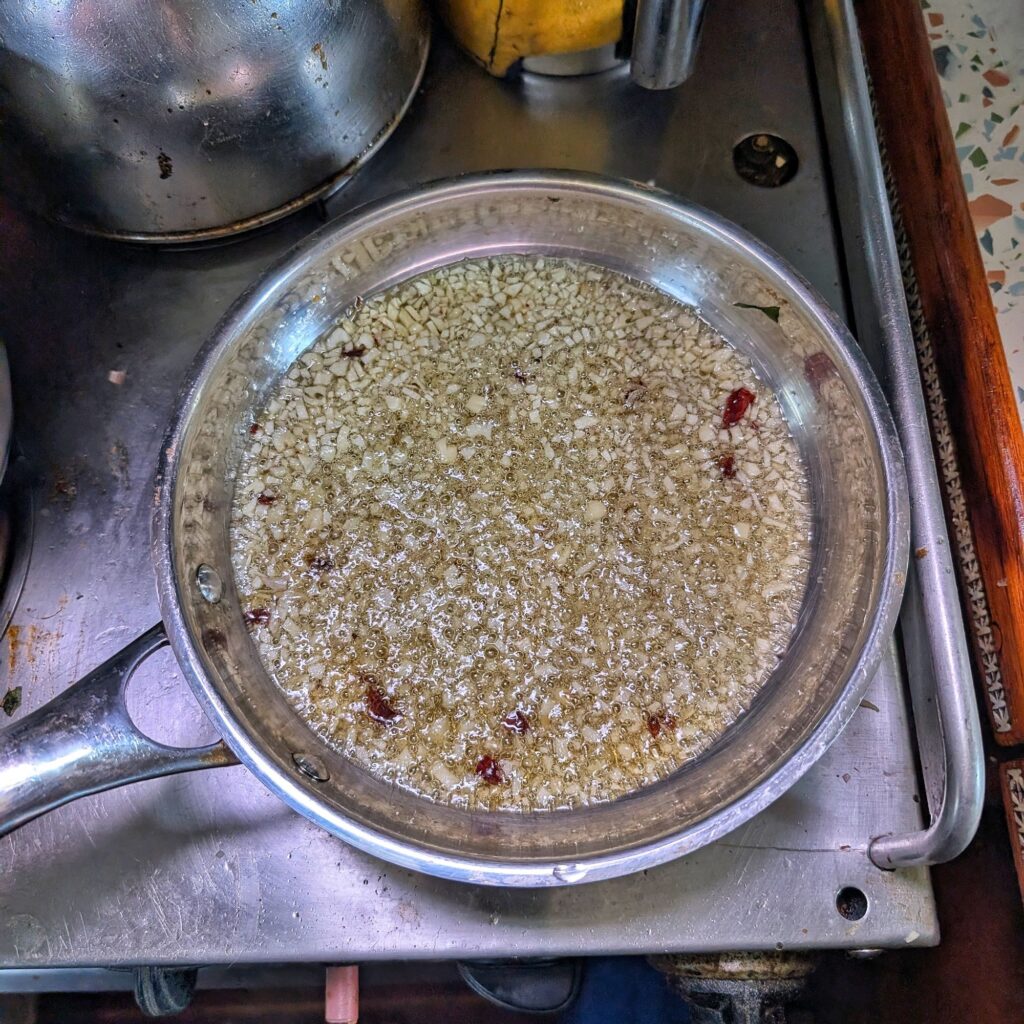
Keep a close eye on it, garlic goes from looking good to burning very quickly, and burnt garlic is bitter and will ruin the oil as well. So pay attention. When the garlic is golden, not browned but GOLDEN, take the pan off the heat and let it sit for a minute or so.
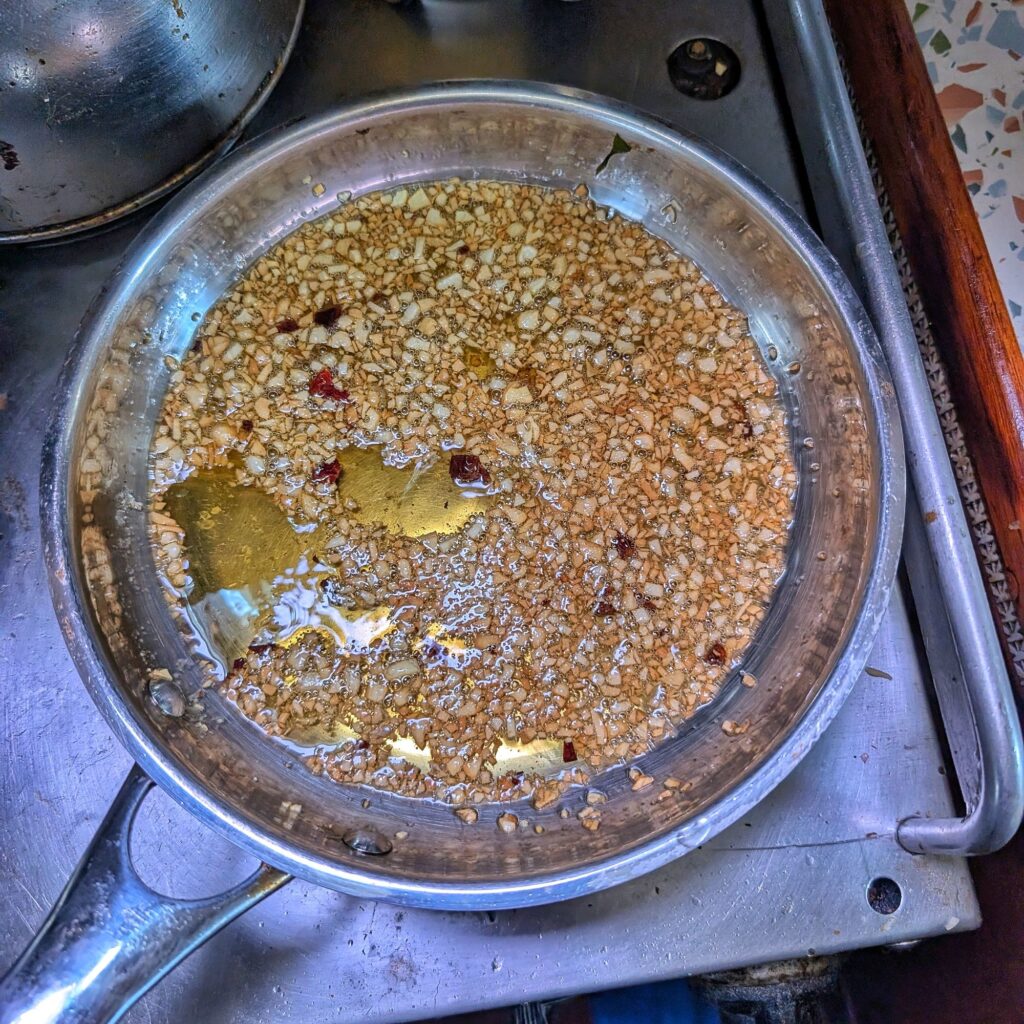
The garlic will continue to cook a bit in the residual heat but you also want to give the oil a minute to cool slightly because the next step it where all the oooooh’s and aaahhhhhh’s happen.
The last step is to slowly pour the hot oil and garlic over the rest of the ingredients in the metal bowl.
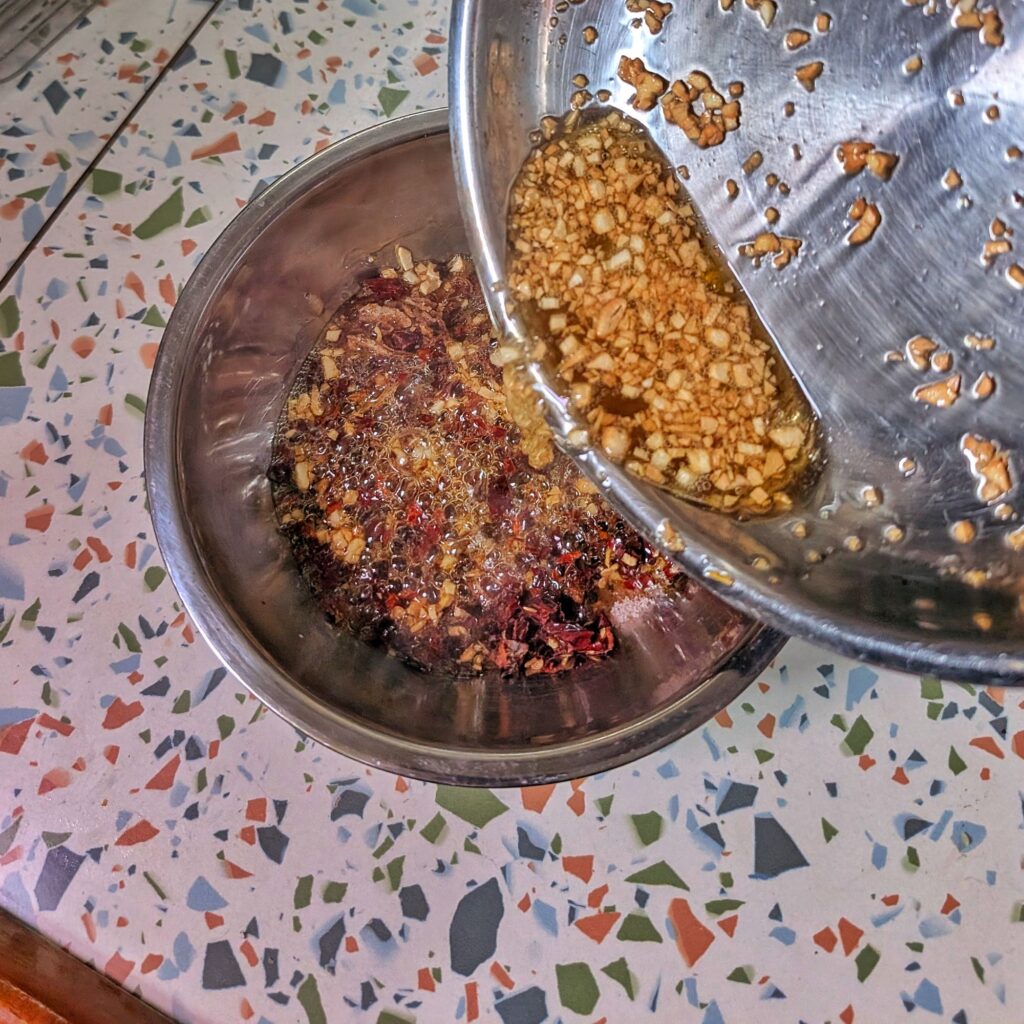
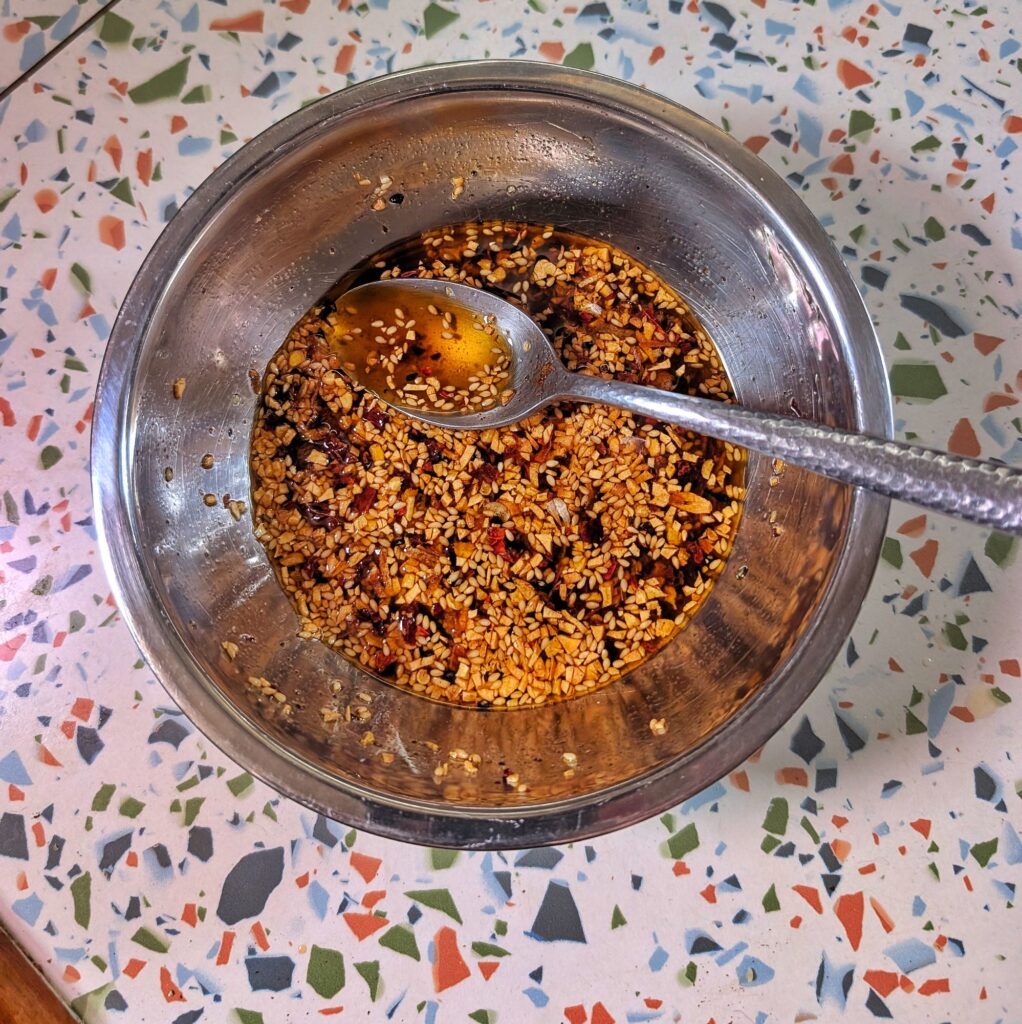
This will result in a little spitting and bubbling and it looks very impressive if it stays in the bowl and doesn’t jump out and burn you. This hot pour over gives everything a quick fry, helping infuse the flavours into the oil, but avoids anything burning. Stir everything gently with a spoon and then let it rest.
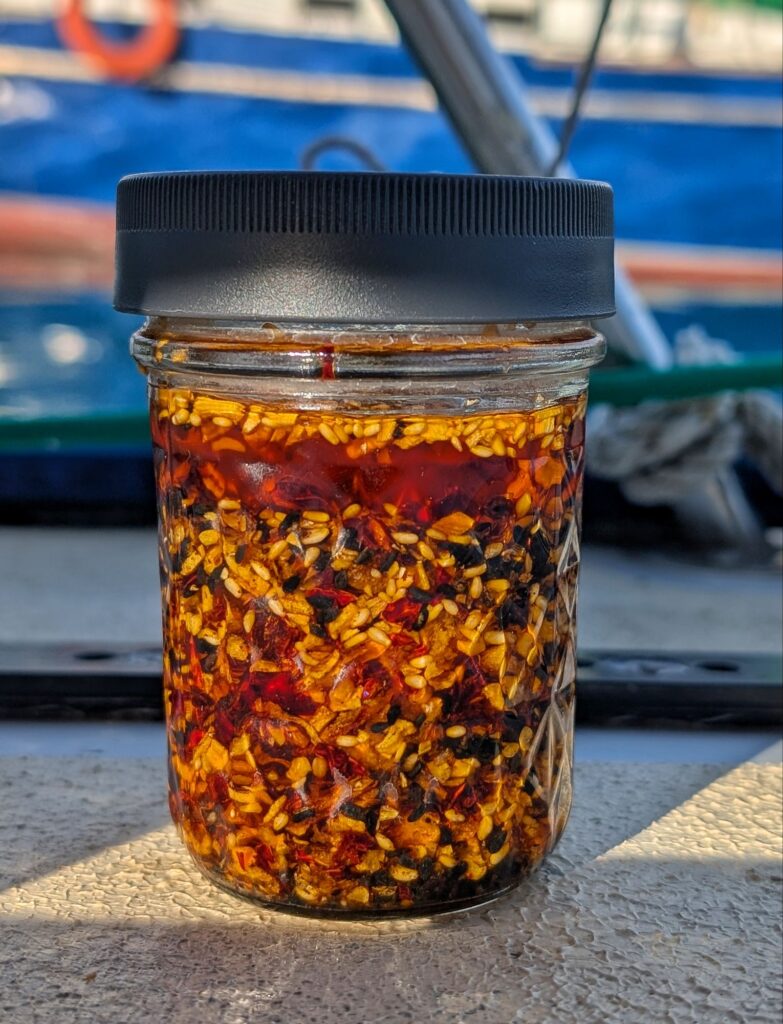
When it is completely cool, pour it into your clean glass jar, making sure that there is enough oil to cover the ingredients completely. If you have underestimated, no worries, just add a drizzle more on top and stir it through, pushing everything down under the oil again.
The chili crisp will deepen in colour and flavour within a couple days but can be used ASAP.
It will last, unrefrigerated in a cupboard for several weeks if the top layer of oil is maintained. If that makes you uncomfortable put it in the fridge, but preferably on the door or somewhere less cold so that the oil does not congeal, because that will not be a pleasant eating experience.
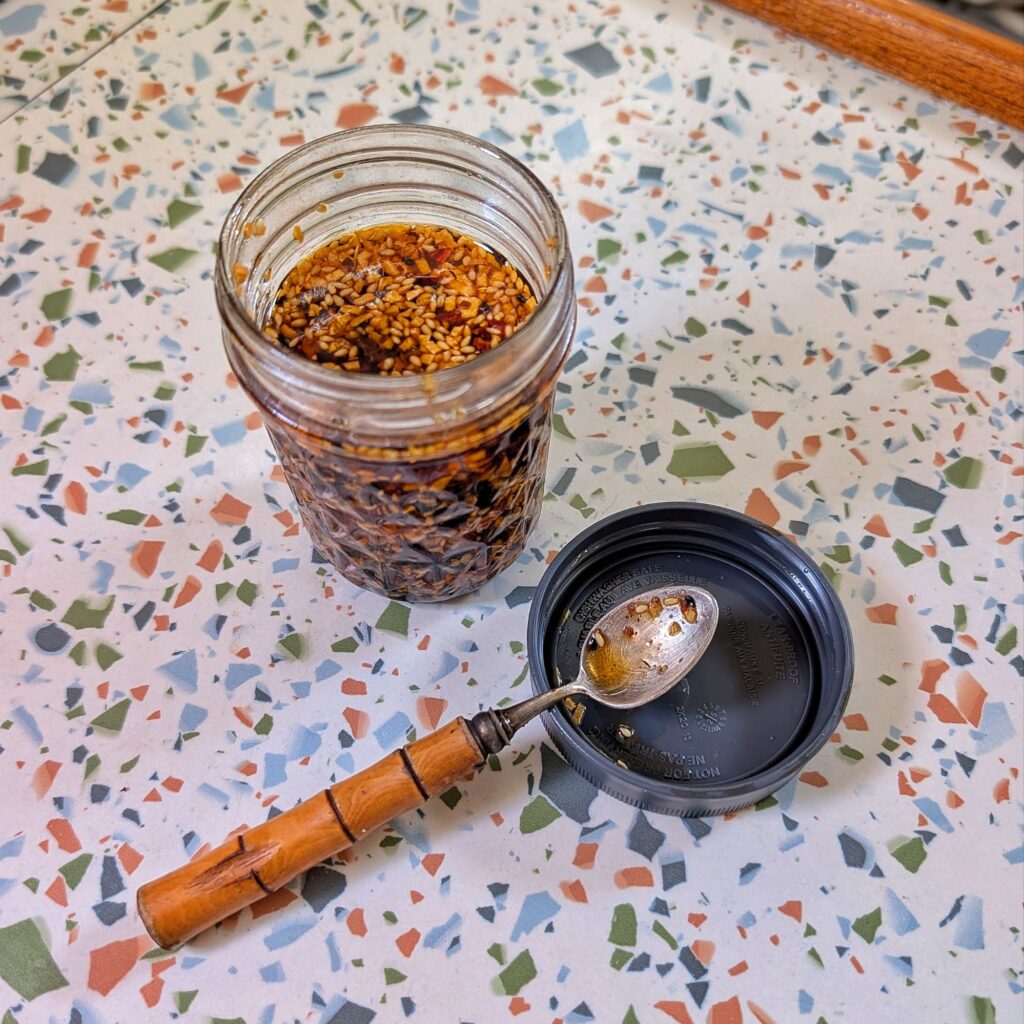
I advise that you serve this with a very small spoon, like the silly small one you get on the side of an actual bone china teacup, because a little can go a looooong way.
Chili in oil always feels a little hotter than, say a pickled chili, because the oil coats your mouth, spreads the heat around, and is harder to get rid of. (The old oil and water don’t mix trick.) I usually dig down for the crispy bits and drizzle the oil with caution until I get a handle on how hot the batch is.
If you stumbled upon some very hot chilies and you just can’t eat the chili crisp you made, you can transfer everything into a bigger jar and add more oil to dilute it. You can also top up your jar with oil as you eat it, if it starts to look too dry.
So, there you have it. I hope you enjoy my version of chili crisp, lemme know if it ends up being a regular in your galley too!
Love,
H…&S

Good relish but I’ll be removing a lot of the seeds I’m sure. Like things hot but not too hot! 🥵 The oil would be yum as I like to have flavoured oils to cook with.
Depends on the chili’s, but yes, removing the seeds helps a lot. The oil is DELICIOUS! Let me know if you make it.